Do a Visual Presentation (4H GCO 59) will help 4-H'ers make an effective visual presentation. This publication covers the method of delivery, the plan, the visuals, how to look sharp and to have a sharp presentation.
Visit the 4-H Youth Development Curriculum website for more information on related project materials.
Click here to print or view the entire project.
What Is a 4-H Visual Presentation?
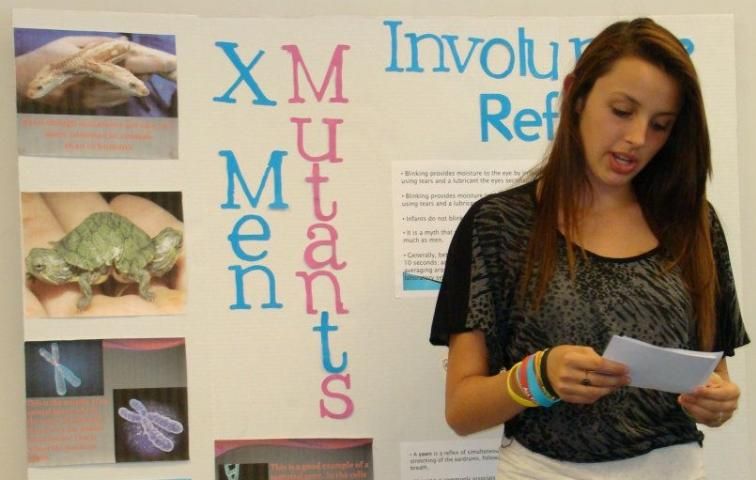
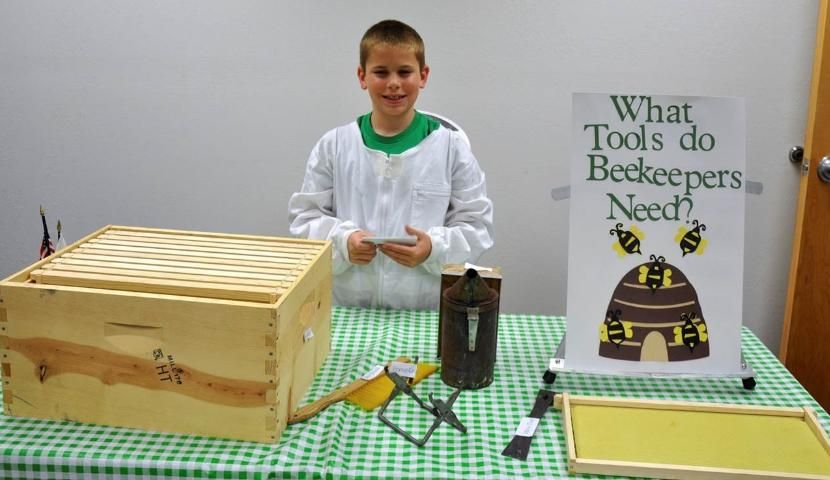
A visual presentation is a teaching method in which the presenter shares information with an audience with the assistance of visual aids such as posters, models, and computer presentation software (i.e., PowerPoint or Prezi). A visual presentation can be either (1) a demonstration in which the presenter shows how to do something or (2) an illustrated talk that is accompanied by visual aids to help the audience understand the topic.

Credit: Julie Dillard, UF/IFAS
A 4-H visual presentation teaches you to
- express yourself clearly,
- research a subject,
- organize ideas in logical order, and
- develop poise in speaking before a group.
A 4-H visual presentation can also help you to develop these positive attitudes and feelings:
- Mastery—"I can do it."
- Belonging—"I'm in. I am part of the group."
- Independence—"I have the ability to share what I have learned."
- Generosity—"I can get and give help."
Your Method
Demonstration? Illustrated talk? Which method should you use? What is the difference?
Here are some of the key differences between a method demonstration and an illustrated talk. It is not always possible to distinguish between the two.
Demonstration
- A demonstration is doing.
- A demonstratation is when you show how. As you show how, you tell how.
- In a demonstration, you make something or do something. There is always a finished product.
Illustrated Talk
- An illustrated talk is TALKING.
- A illustrated talk is when you TELL HOW with the aid of visuals.
- In an illustrated talk, you use visual aids such as CHARTS, PICTURES, MODELS, and CUT-OUTS.

Credit: Julie Dillard, UF/IFAS
As you start to select a method for your presentation, ask yourself questions such as the following:
- Do I want to show and explain the actual steps in doing something? Then give a demonstration.
- Are visuals the best way to explain your topic? Give an illustrated talk.
- Can you take all the equipment needed or does space allow use of equipment? If the answer is "no," do an illustrated talk.
- Are you teaching members of a small group a new skill? Use a demonstration.
Individual or Team Demonstration
When the demonstration requires more work than one person can do alone, a team demonstration is called for. Extra practice is usually required in a team effort so that the two participants can better coordinate their parts. Both team members should participate equally in the speaking and showing of the presentation.
The Place to Begin
Select a subject that
- interests you,
- relates to one of your projects,
- is of practical value, and
- challenges your ability.

Credit: Monkey Business Images Ltd/Monkey Business/Thinkstock.com
Narrow the subject to one main idea or theme. Choose a subject that is both broad enough to allow you to teach your audience something meaningful but also narrow enough that it may be covered adequately in the time allowed.
Select a title that
- relates to the subject and is "catchy,"
- is original,
- is short, and
- suggests the subject without telling the whole story.
Sometimes it is easier to select an idea, develop the visual presentation, and then decide on a title.
Consider the Length
You will want your presentation to be long enough to cover the subject, but short enough to keep your audience's attention.
For competitive 4-H events in Florida, the length should be at least 5 minutes but not more than 12 minutes for senior members.
Your Plan
An outline helps you to organize your presentation and to make it more effective. An outline involves
- listing the supplies you need (such as equipment, easel, and charts);
- collecting information that is correct and approved by UF/IFAS Extension;
- listing the steps to be shown, in order;
- deciding what you will say along with each step; and
- planning how you will use equipment and materials.
The Skeleton Outline
A basic outline includes the following sections:
- Introduction
- Body
- Summary
Introduction

Credit: Oatyco/iStock/Thinkstock.com
Your introduction should be comprised of three parts: (1) an attention-getter, (2) an introduction to yourself, and (3) an introduction to your talk and what your audience will learn.
Begin by getting the attention of your audience. Instead of beginning with, "Good morning, I am...," try an interesting statement that is related to your presentation that instantly gives your audience an idea of what you will be discussing. Try a quote, shocking statistic, or even a joke. This is your chance to sell your subject to the audience
After gaining the attention of the audience, you can introduce yourself, the title of the demonstration, and a few key points that you will be covering. For example, "Would you believe that the number one factor in whether or not a child does well in school is the amount of sleep they get at night? My name is Clover Dan, and today in my demonstration, "Counting Sheep," I will be sharing with you why it is so important that children get enough sleep each night."
Make a smooth transition into the main part of your presentation.
Body (Main Part)
This is the place where your knowledge of the subject and your skill in selling the subject comes across to the audience.
It is imporant to do the following:
- Use your own words.
- Discuss the main parts in a logical order.
- Use accurate and up-to-date information.
- Use factual information. UF/IFAS Extension and your local county Extension office are excellent sources of information.
- Talk to the audience. You may use note cards to assist you, but relying on them will limit your eye contact with the audience.
- Use appropriate visuals.
- Cover the subject.
- Eliminate unnecessary information that does not contribute to the main parts.
Summary
- Highlight the main points of the presentation.
- State sources of information.
- Ask for questions.
Your Visuals
A well-chosen visual can make the difference between success and failure in a presentation. Experiment to determine the type of visual best suited to your topic—objects, posters, charts, cartoons, flip charts, or something else.
If you are using equipment, do the following:
- Select the best possible piece for the job.
- Arrange in order of use.
- Make sure equipment is in good working order.
- Practice using the equipment.
- Arrange so audience can see (small equipment in the front, large equipment in the back).

Credit: Kristi Lommerse
If you are using posters, use them to do the following:
- Add interest and sparkle
- Explain a point
To evaluate your poster, ask yourself:
- Is it needed?
- Is it large enough for the audience to see?
- Is it on heavy cardboard that will not buckle or bend?
- Is it easy to use?
- Is it colorful?
- Does it stress or explain a point?
Look Sharp
Appearance counts! You are not only selling a subject, you are selling yourself.
- Dress appropriately for your presentation.
- Wear 4-H attire if appropriate.
Sell Yourself
The job of selling yourself to your audience will be easier if you do the following:
- Start with a smile.
- Be enthusiastic.
- Be well-groomed from head to toe.
- Have good posture.
- Have eye contact with the audience.
- Speak distinctly.
Avoid mannerisms that may distract the audience.
- Pushing back hair
- Rocking back and forth
- Wearing too much jewerly
- Chewing gum
Be Sharp
- Arrange posters in the order you wish to use them.
- Plan for all the supplies you need.
- Arrange supplies conveniently and attractively so your audience can see all processes.
- Have only the necessary items in view.
- If you use notes, put them in outline form and use them inconspicuously.
- Do not talk when your back is to the audience.
- Remember to
- loosen caps and tops before beginning the visual presentation and
- cover the brand names.
- If you use trays,
- line them with paper towels to lessen noise;
- place tall items in back; and
- arrange in order of use.
-
Practice your delivery.
Practice will help you
- do things in a logical order,
- stay within the time limit,
- use visuals skillfully, and
- know if you have enough information about the subject.
Continue to Improve
Don't quit now—you are making progress.
You will find many places to give good visual presentations—in 4-H Club meetings, 4-H Council meetings, project training workshops, and 4-H visual presentation contests. You can learn to give a visual presentation; then you can teach someone else. Pass it on.
Each time you give the visual presentation, try to improve it. Do your best to make the visual presentation a learning experience for you and your audience.