Introduction
Establishment of perennial pastures is critical and there are several basic steps that are important to minimize the risk of establishment failure and to guarantee effective stand growth. Overlooking any of these steps may result in reduced returns. Florida warm-season perennial grasses are the foundation for Florida's livestock industry. In south Florida, these grasses are represented by: bahiagrass, digitgrass, hybrid bermudagrass, and limpograss. Except for bahiagrass, all require vegetative propagation for establishment. This publication describes the different steps that minimize establishment failure and lead to a favorable outcome of dense stand of perennial pasture grass.
General Considerations
Partial vs. Total Renovation
Reestablishment or total renovation appears to be the most effective way to renovate unproductive pastures that have been lost to mole cricket damage, overgrazing, prolonged drought, and instances of multiple freezing temperatures during late winter, etc. This practice destroys the entire sod, allowing for a clean seedbed for reestablishment to new, desirable grasses. Mechanical chopping or aeration practices appear to have little effect on forage yield. Studies in Florida, Oklahoma, Mississippi, Tennessee, and Alabama have shown that various types of aeration machines did not increase forage yield.
While replanting damaged bahiagrass pastures with alternative improved grasses such as stargrass, bermudagrass, or limpograss is expensive and will normally cost $350 to $500/A, the investment should pay for itself with greater forage production and carrying capacity.
Step 1) A Clean, Moist Seedbed Ready for Planting
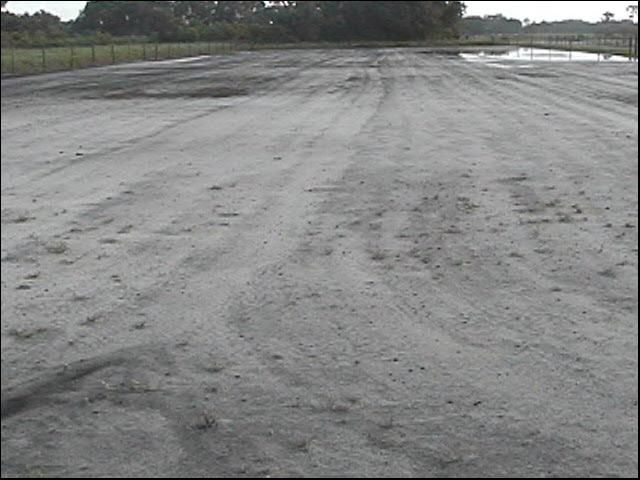
One reason for preparing a seed bed is to control weeds. Preparing a clean seedbed (Figure 1) for perennial grass planting can take several forms. The preferred option is to seed a winter annual crop, such as ryegrass, during the fall of the year on the pasture that needs renovation. This is accomplished by moldboard plowing, disking, seeding, and packing. The following spring, when the winter annual dies and dry conditions prevail, the land should be tilled at 2- to 3-week intervals until planted to the desired perennial grass. Another land preparation choice is to spray at least 2 qt/A of Roundup® (2lb/A glyphosate) on the deteriorated pasture in early spring (March) when vegetation is about 6 inches tall, followed by another application of 2 qt/A 3 days later. Allow 3 to 4 weeks for plants to die, followed by tillage during the dry season. A third method would be to completely turn over the sod with a moldboard plow in April to desiccate the sod, followed by repeated disking until planting.
Step 2) Preconditioning Clean Planting Material
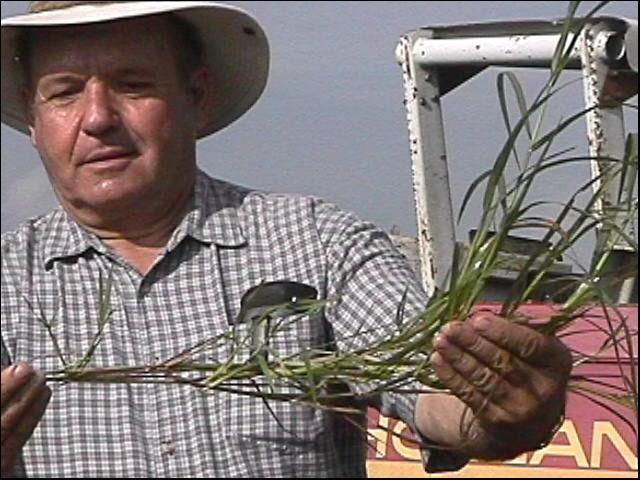
Planting material should be obtained from a pure grass stand with no common bermudagrass or weeds and preconditioned as follows: a) Apply 400 lb/A of a 20-10-20 (P2O5-K2O) analysis fertilizer in March to increase top-growth and b) Two weeks before cutting plant material, apply 50 lb N/A to initiate growth of shoots at the base of each leaf node (Figure 2). These shoots develop into new plants faster when planted if they receive N fertilizer prior to cutting. One acre of preconditioned plant material should provide enough planting material to cover 13 to 15 planted acres.
Step 3) Time Your Planting for Good Soil Moisture
It is best to wait for at least 2 to 3 inches of rainfall before planting vegetative cuttings (tops) of perennial grasses. Generally, good rainfall should prevail in the immediate period-to-weeks after planting. In south Florida, early July plantings work in most years.
Step 4) Adoption of Good Planting Techniques
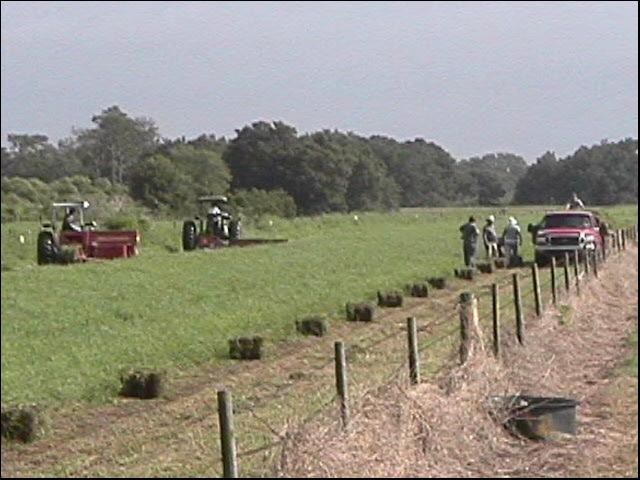
Preconditioned grass material must be cut and baled fresh within 5 minutes (Figure 3).
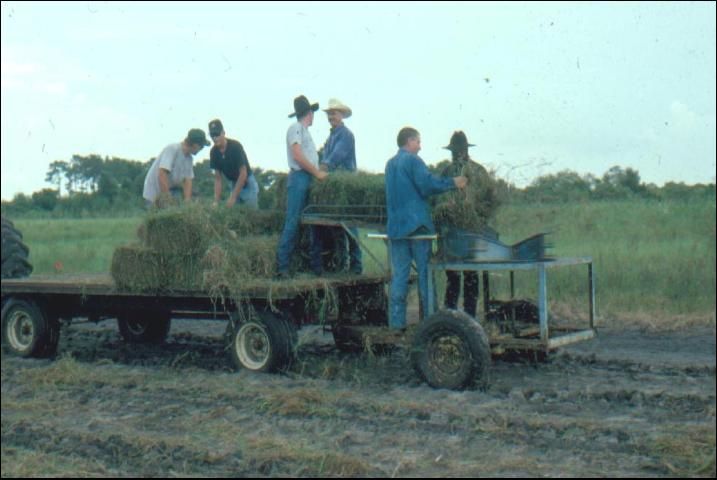
Material must be loosened and uniformly spread on a prepared seedbed (1500 lb/A) (Figure 4) the same day as baled and followed within 15 minutes by disking or crimping material into the soil with a crimper machine also called a "pizza cutter" (Figure 5).
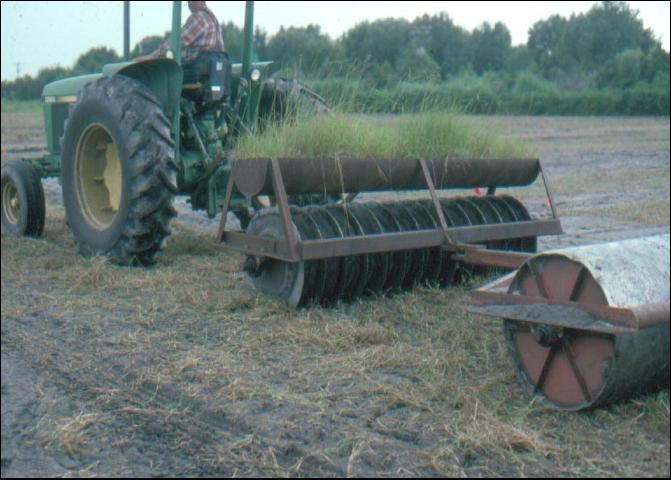
Finally, the land should be rolled firmly in two directions immediately after disking or crimping material into the soil. The objective of step 4 is to minimize drying of planting material and improve plant-soil moisture contact. This will allow for a successful establishment even if no rain is received for two to four days after planting.
Step 5) Implementaion of Good Weed Control and Fertilizer Program After Planting
Weedmaster will control seedlings of many sedges and broadleaf weeds in vegetatively planted stargrass, bermudagrass, and pangolagrass. Spray newly planted fields of those species with Weedmaster® at 2 pt/A, 7 days after planting. Young limpograss shoots are killed by Weedmaster®; hence, 1.5-2 pt/A of Banvel™® herbicide should be applied to control sedges and broadleaf weeds in newly planted limpograss. Fertilize establishing grasses 7 days after planting with about 350lb/A 10-10-10 (N-P2O5-K2O) and an additional 50 lb N/A at 35 days after planting.
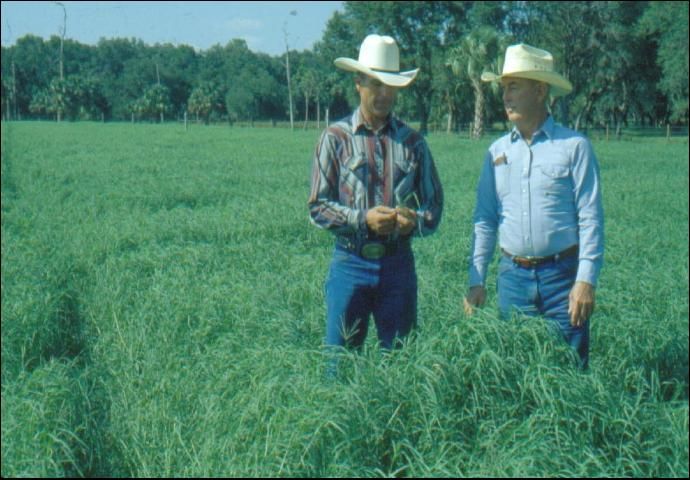
The steps outlined allow new stargrass and bermudagrass fields to be grazed or harvested for hay within 60 to 70 days after planting (Figure 6). This will ensure long-term, clean, pure fields if managed properly thereafter.
Summary
- Prepare a clean seed bed
- Precondition clean, pure planting material by:
- Applying 400 lb/A of a 20-10-20 (N-P2O5-K2O) fertilizer 90 days before harvest
- Applying 50 lb N/A at 15 days before harvest
3. Plant in early July to coincide with good rainfall or after adequate rainfall.
4. Practice good planting techniques by:
- Cutting and baling planting material within 5 minutes.
- Uniformly spreading 1500 lb planting material/A.
- Crimping or disking-in plant material within 15 minutes after spreading on clean seed bed.
- Rolling land firmly in two directions immediately after crimping or disking.
5. Adopt good weed control and fertilization programs by:
- Applying Weedmaster® (2 pt/A) on bermudagrass, stargrass, and pangolagrass or Banvel® (1.5-2 lb/A) on limpograss 7 days after planting.
- Applying 350 lb/A of a 10-10-10 (N-P2O5-K2O) fertilizer 7 days after planting.
- Applying 50 lb N/A at 35 days after planting.