Ten Steps to Planting a Shrub
These ten steps for successful planting may seem simple, but many are often overlooked resulting in poor shrub health, eventual shrub death, and loss of time and money when the shrubs are replaced. Proper planting techniques help assure that establishment is quick. Quick establishment conserves water and other resources.
-
Call underground utility companies before you dig deep holes.
-
Break up compacted soil.
-
Amend the entire shrub bed.
-
Locate the point (called the flare) where the first main root meets the trunk.
-
Remove roots and media above the first main root.
-
Dig the planting hole wide and shallow.
-
Place the rootball in the ground and check that the first main root (flare) is just above the soil line.
-
Back fill around the rootball.
-
Mulch around the outside of the rootball; no mulch should be on the rootball.
-
Water at planting and then on a regular schedule until the shrub is established.
Season
Shrubs can be planted during any season in Florida. However, local seasonal fluctuations in temperature, rainfall, and other environmental conditions could influence shrub establishment. Planting under hot, sunny, dry conditions—typical of the spring or fall in Florida—may reduce shrub vigor and slow establishment unless regular irrigation occurs.
Location
Shrubs should be located where adequate soil space is available to the shrub for root expansion and enough room is also available for top growth. Best performance occurs when the necessary soil water, drainage, and to some extent the nutrition needs are supplied to the shrub's root system.
Site and Soil Preparation
If no trees or mature shrubs are located in the vicinity where you want to plant the shrub, the bed can be prepared for a group shrub planting or row of shrubs by breaking up compacted soil by spading or tilling the entire bed to a depth of 8–12 inches. Softening the planting area in this manner allows for rapid root growth into the landscape and quick establishment of the shrub. Providing loose, soft soil for several feet around each plant allows roots to position themselves in a natural, spread-out fashion faster, which is not as likely to occur when soil is compacted. Some roots may also grow deeply in loose soil, resulting in a shrub that is more drought-tolerant than one with shallow roots.
There may be benefits to amending the soil in the entire bed with compost or other organic amendments. Some researchers have found greater root growth in amended beds. When choosing soil amendments, look for materials that are well decomposed, contain little or no recognizable materials, and have an earthy, non-offensive smell. Such amendments are likely to have the proper carbon-to-nitrogen ratio that will not decrease the amount of nitrogen available for plant uptake. Organic material can be applied to the soil surface and incorporated with a spade or till into the top 12 inches of soil prior to planting. If you are unable to incorporate the material, topdressing with organic matter will also provide some benefit to growing shrubs. Once the bed is prepared, rootballs can be placed in holes that are a little wider than the rootball.
If there are existing shrubs or trees nearby, be careful to avoid injury to existing roots by spading and tilling outside of the drip line (edge of the canopy) of those other shrubs or trees. Holes can be dug for individual shrubs with a shovel. Dig large-diameter planting holes (three times the diameter of the rootball). Holes cannot be dug too wide unless roots of existing trees will be injured. Avoid digging the hole any deeper than the height of the rootball because deeply planted shrubs can become stressed and grow poorly.
Rootball Preparation
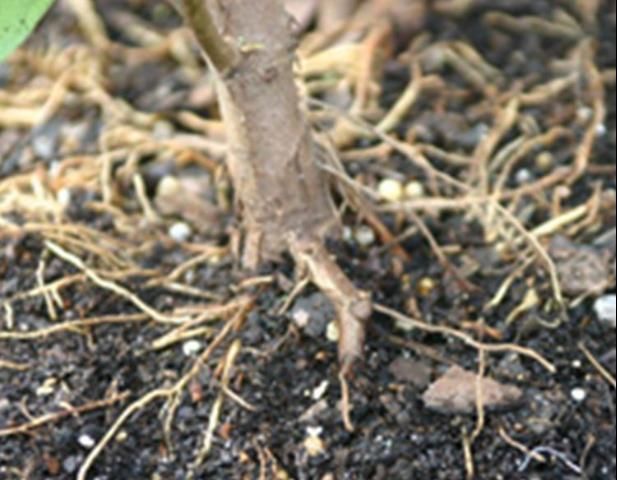
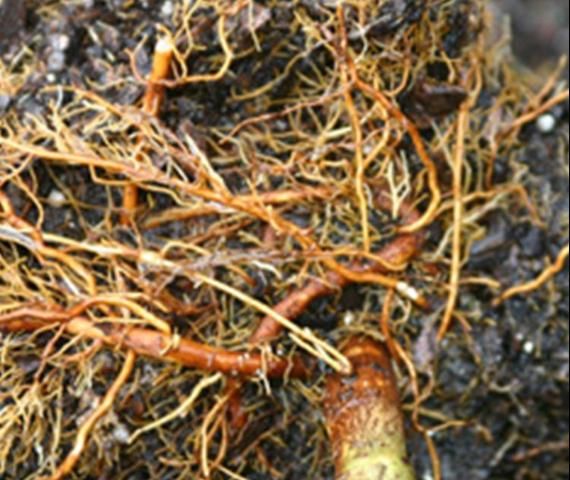
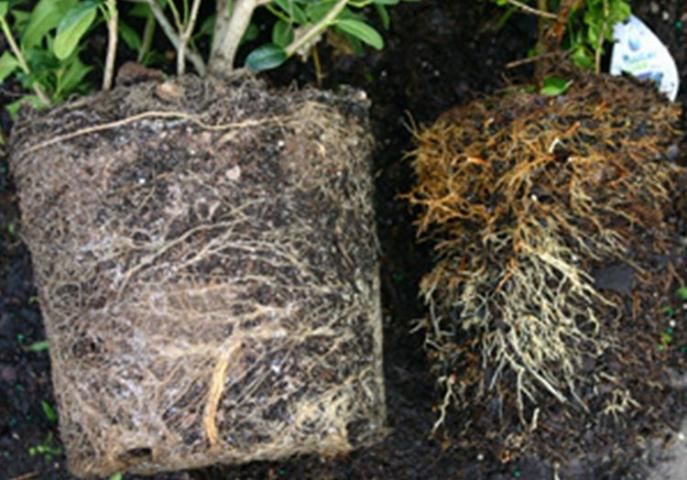
The point where the first main roots emerge from the trunk (called the root flare) should be visible (Figure 1) in the rootball. If the flare is not visible, then expose it by removing roots and media. Roots that circle the trunk and those growing over the main roots should be cut off with a hand pruner (Figure 2).
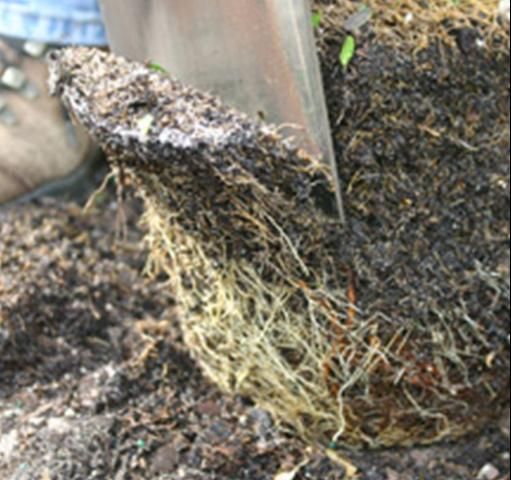
The entire outside periphery of the rootball should be shaved off (Figure 3) to remove roots that circle and grow down the outside surface of the rootball. Removing such roots reduces the likelihood that they will strangle the trunk later. Recent research also shows that removing the periphery of the rootball increases the amount of root growth away from the rootball, resulting in a root system that resembles a natural root system.
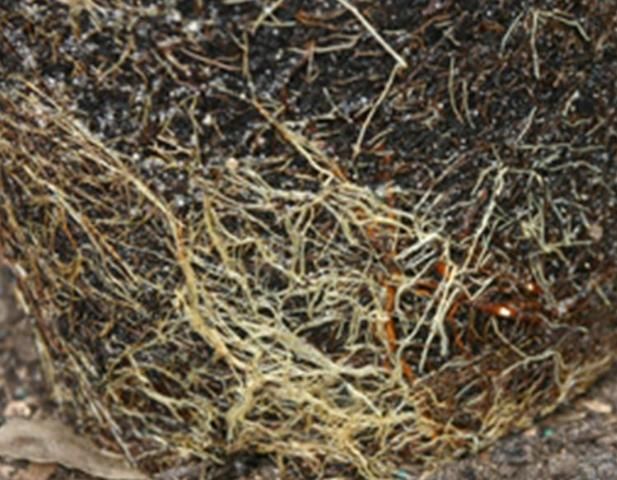
Rootball shaving can be done prior to or immediately after setting the shrub in the hole. Several different tools can be used to remove roots at the periphery of the rootball, including a shovel, hand pruning saw, hand pruning shears, or other sharp blade.
Positioning the Shrub into the Ground
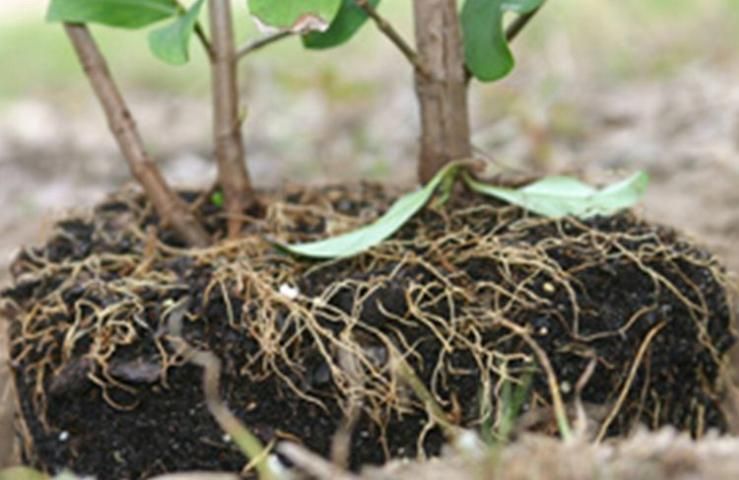
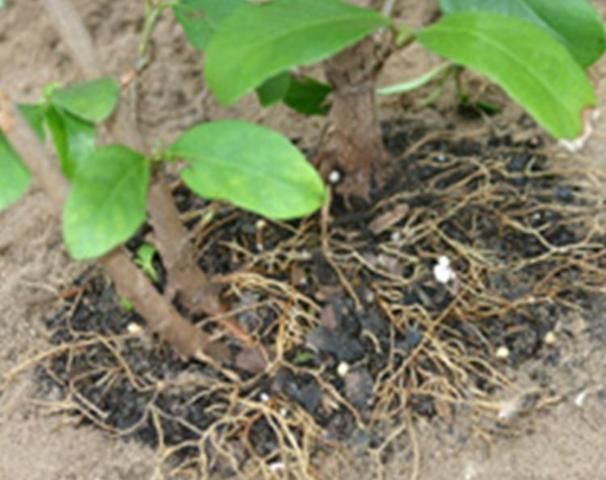
The point where the surface roots in the rootball attach to the trunk should be positioned about even with or slightly above the surrounding landscape soil (Figure 4). This allows roots to quickly grow out of the rootball into landscape soil. A hole that is dug too deeply can be adjusted by removing the plant and adding soil. Loose soil under the rootball should be tamped with your foot so the plant does not sink after it is planted.
The space around the rootball should be loosely filled with the soil that came out of the hole (Figure 5). An inch of the rootball can remain sitting above the surrounding landscape soil when all backfill soil is added. The plant is now ready to be mulched.
Mulching
Mulches applied to the landscape soil surface reduce soil-temperature fluctuations, prevent packing of soil, minimize runoff and soil erosion, conserve soil moisture, and help control weeds. These benefits can result in enhanced plant health and can lessen the need for irrigation. Newly planted shrubs should be mulched with 2–3 inches of organic or inorganic mulch material.
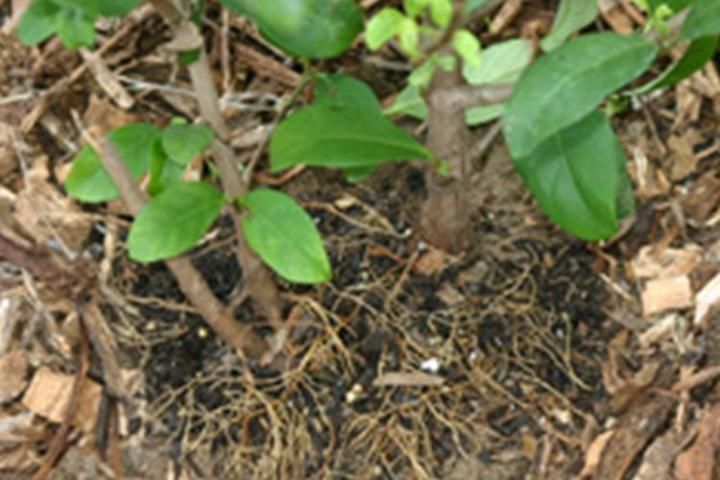
It is best to keep mulch off of the top of the rootball (Figure 6). Less rainfall and irrigation water seeps into the rootball on recently planted woody plants when mulch is placed over the rootball. As a result, the rootball may dry out, which stresses the plant and results in poor plant health. Instead, mulch should be spread on top of the landscape soil beginning at the edge of the rootball and extending as far away as needed.
Watering
Water shrubs immediately after planting, then continue with regular irrigation appropriate for location and soil conditions until shrubs are established. For more information, see EDIS Publication ENH1130, Establishing Shrubs in Florida Landscapes, https://edis.ifas.ufl.edu/publication/EP391.
Pertinent Literature for Additional Reading
Gilman, E.F., C. Harchick, and C. Wiese. 2008. "Pruning roots affects tree quality in container-grown oaks." Journal of Environmental Horticulture 27: 7–11.
Gilman, E.F. 2004. "Effects of amendments, soil additives and irrigation on tree survival and growth." Journal of Arboriculture 30: 301–310.
Gilman, E.F. and J. Grabosky. 2004. "Mulch and planting depth affect live oak establishment." Journal of Arboriculture 30: 311–317.
Additional Resources
Planting Shrubs and Conserving Water—https://hort.ifas.ufl.edu/irrigation/
Irrigation Research Website—https://abe.ufl.edu/faculty/mdukes/
Landscape Plants—https://hort.ifas.ufl.edu/woody/
Funding Provided
Florida Department of Agriculture and Consumer Services
St. Johns River Water Management District
Southwest Florida Water Management District
South Florida Water Management District