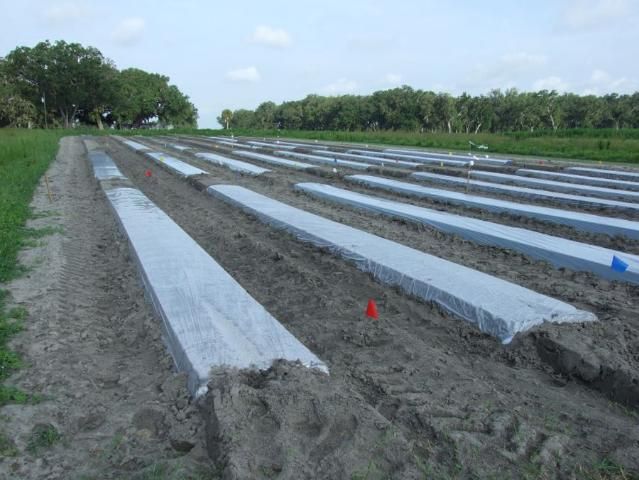
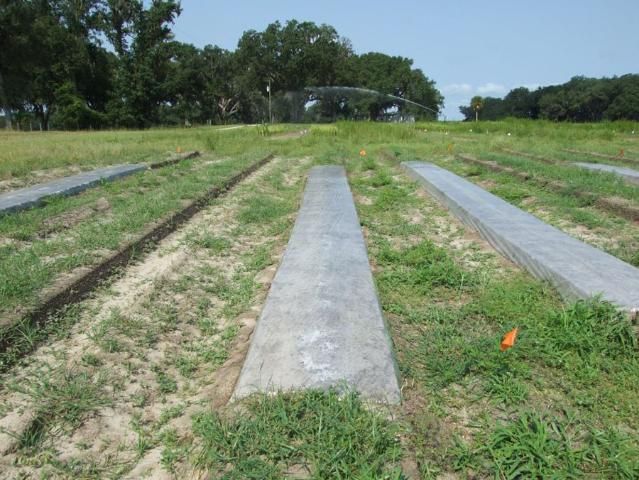
Soil solarization is a practice used to manage weeds, nematodes, diseases, and insects in soil (Figure 1). The soil surface is covered with clear plastic, which allows sunlight to pass through and heat up the soil to temperatures that are lethal to many of these pests. If effective, solarization can reduce population levels of these pests for 3–4 months, sometimes longer. The benefits, risks, and use of solarization are the subject of a recent article that summarizes results of solarization tests in Florida (Krueger and McSorley, 2009). However, many people may be unaware of solarization or have not tried it. The method may be a convenient way for managing some soil pests in home gardens or small field sites. This article is intended as a guide to solarization in Florida for first-time users.
Steps for Conducting Solarization
-
Where to Do Solarization
Solarization can be done on any soil type in Florida and has even been successful on rock soils in south Florida. For best results, it should be done in open, unshaded areas. We would not expect very good results if the sun is blocked by trees or buildings during the day.
2. When to Do Solarization
The best times for solarization are during the summer months of June, July, and August because these have the hottest temperatures. It has been attempted in the spring and fall, but may not be as reliable then because temperatures are cooler. June may actually be the best month, because rainfall may be lower than in the other summer months, although this is untested.
3. Site Preparation
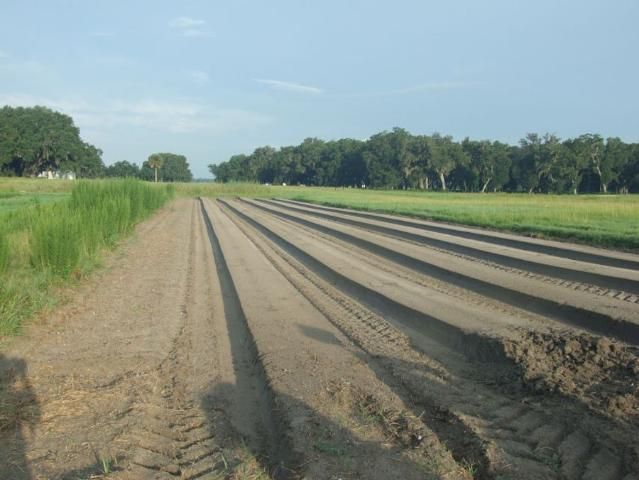
The area to be solarized must first be cleared of existing weeds and debris (Figure 2). Tilling the site is helpful to increase penetration of heat into the top 6 inches of soil. Sticks, old roots, and other debris should be removed so they do not poke holes in the plastic.
4. Soil Moisture and Heat Conduction
Water helps to conduct heat, so best results occur if soil is moist but not waterlogged or muddy. If the soil is very dry and dusty, the solarization will not work as well. On sandy soils in Florida, the best conditions are when the soil received rain or irrigation the day before plastic is applied. If rain or irrigation occur just a short time before applying plastic, the soil can be heavy, muddy, or otherwise difficult to work with, and the clear plastic can get dirty.
5. Cover Soil with Clear Plastic
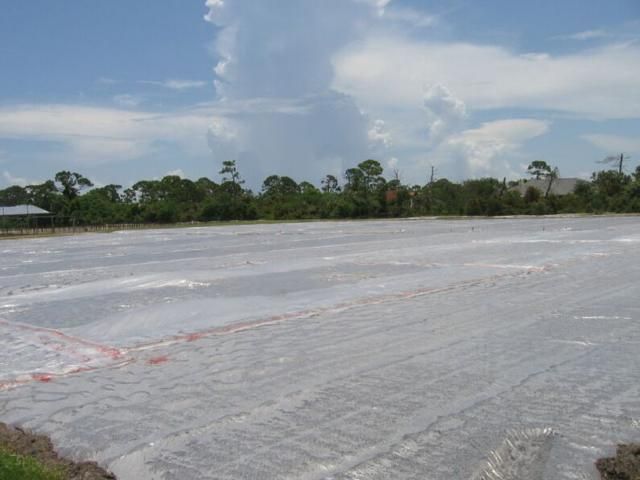
Solarization can be done on raised beds (Figure 2) or on flat ground (Figure 3). If beds are used, it is better for the beds to run north-south rather than east-west. This ensures that the raised edges of the beds will receive direct sunlight either in the morning or afternoon.
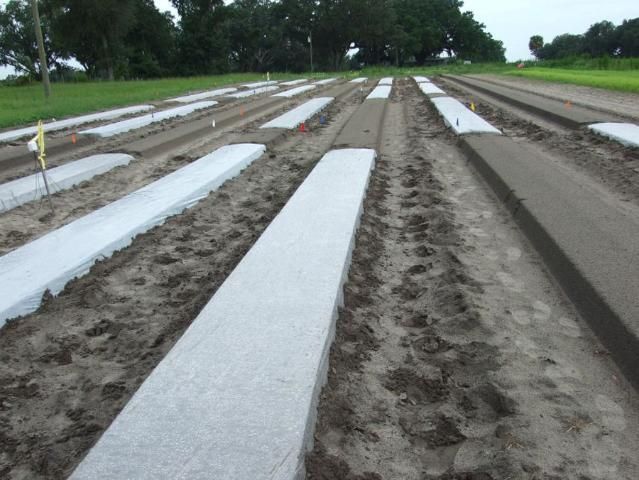
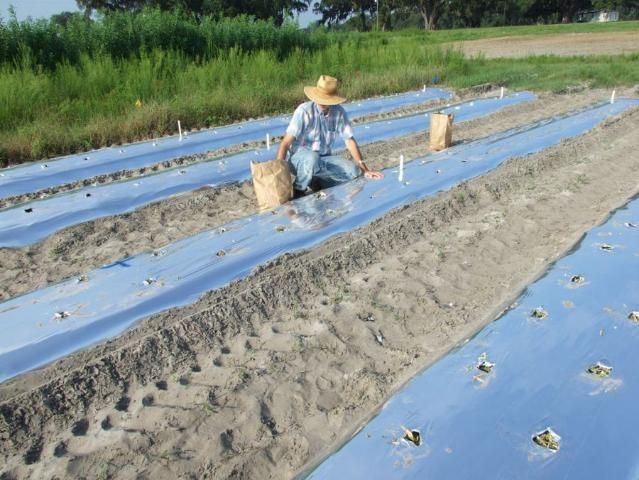
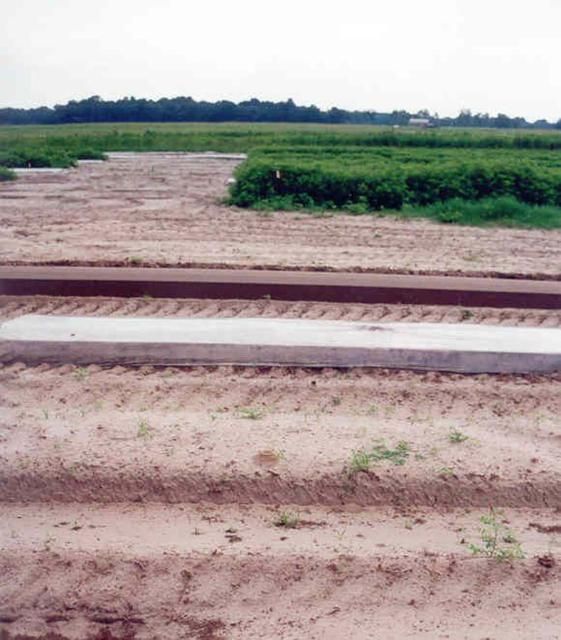
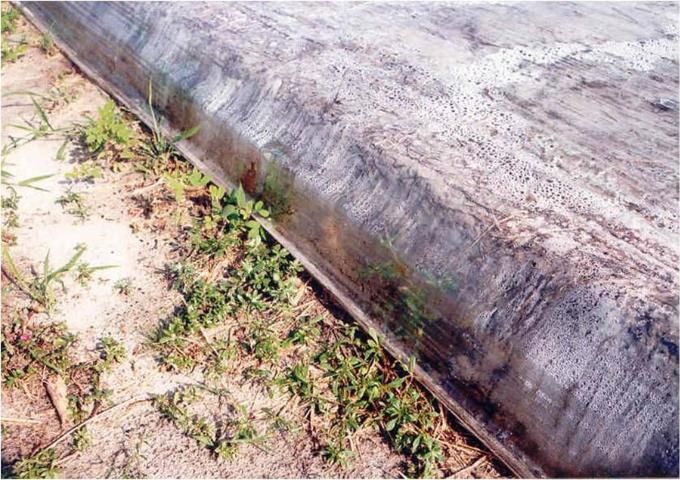
A clear plastic sheet or strip is stretched out over the area to be treated. The plastic piece should be a little larger than the area treated because the edges will need to be buried in soil (see next step). The plastic sheeting used must be completely CLEAR (Figure 4). Other types of plastic should not be used. Black plastics or reflective plastics (Figure 5) will get hot on the surface, but will not allow sunlight through to heat the soil below. Translucent or whitish plastics (Figure 6) may allow some sunlight through, but that is insufficient to do a good job of solarization.
At present, there are no recommendations about type or brand of clear plastic to use. Some people think thinner plastic is better, but maybe the main consideration is that the plastic should be strong enough to last for 6 weeks in the summer sun in Florida without breaking up.
6. Seal Plastic into Soil
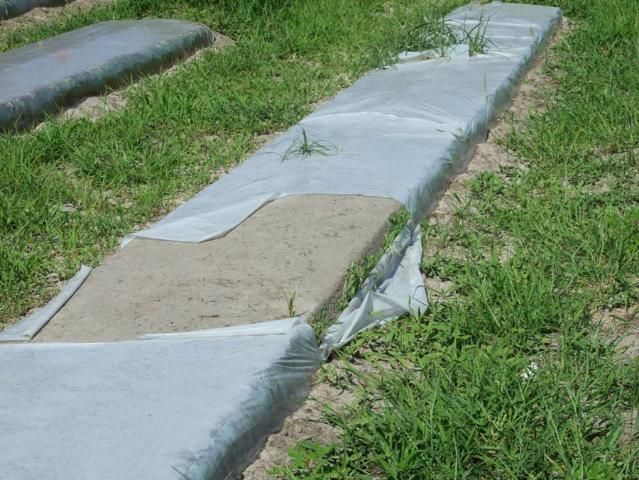
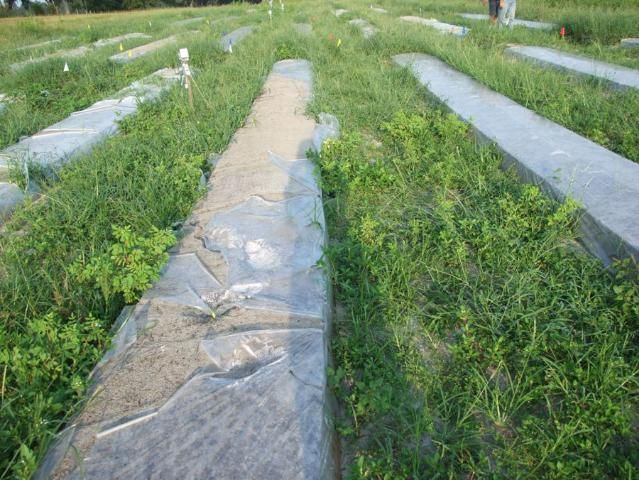
The plastic should be stretched tight and the edges sealed completely by burying in soil (Figure 4). If edges are not completely sealed (Figure 7), heat will leak out and problems may result in these cooler areas (Figure 8).
7. Solarize for at Least 6 Weeks
The plastic should be left in place with all edges buried for at least 6 weeks. After that, the plastic can be removed, and if the procedure was successful, weeds and soil pests should be reduced for 3-4 months (Figure 9). Do not plant anything until the plastic is removed because the heat under clear plastic will kill seeds and plants! Disposal of used plastic can be a problem, especially if the plastic is not strong and breaks apart before or during removal (Figure 10).
Frequently Asked Questions
How deep are the effects of solarization and how long do they last?
Solarization can greatly increase temperatures in the upper 4"–6" of soil. Deeper soil usually does not heat up enough to kill pests that are located there. So pests such as nematodes that are living deep in the soil will survive and eventually can move up into the solarized area. This re-invasion of the solarized soil usually takes about 3–4 months, so after that time the effects of solarization diminish. Solarization is best used for short-season crops. Pests may be reduced in a vegetable or ornamental crop planted right after solarization, but if another crop is planted immediately after that (double-cropping), the recolonizing pests and weeds may damage the second crop.
We had some summer rains, will this ruin the solarization?
Probably not. Afternoon showers are common in Florida in summer, but usually there is enough sunlight at other times of the day to accomplish solarization. Desert conditions with no rain or cloud cover are not essential. However, if continuous cloudy weather without direct sun occurs for several days in a row, solarization may begin to fail because of a lack of solar heating.
How can I tell if solarization is successful?
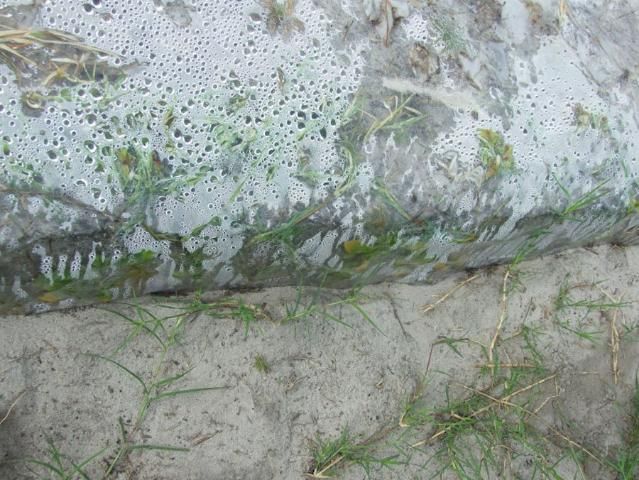
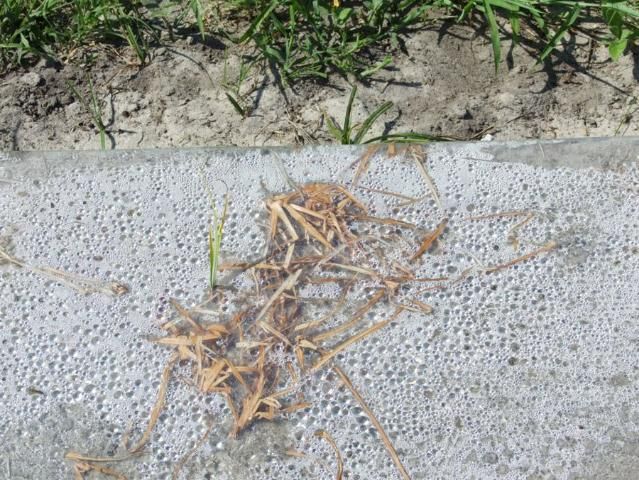
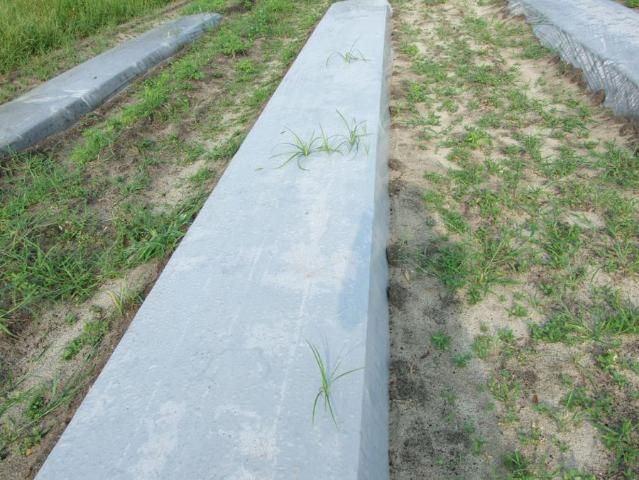
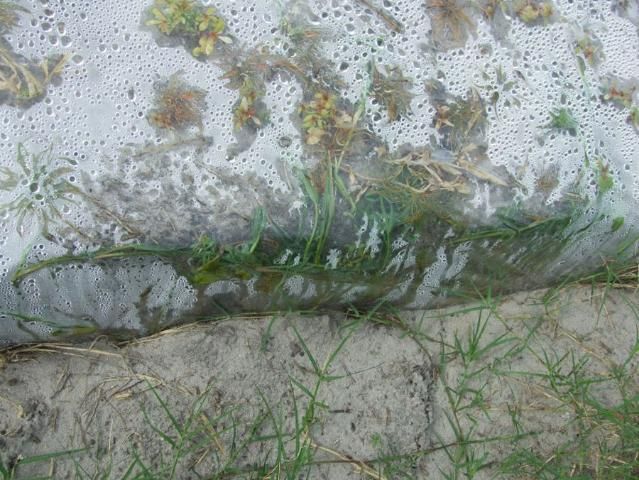
The most common reason for failure of solarization is an extended period of continuous cloudy weather. If solarization starts to fail, weeds will grow under the plastic (Figure 11). Under good solarization conditions, weeds, even nutsedge, will be killed soon after they come up (Figure 12). Even in a successful solarization, it is not unusual to see a few (<5) weeds in a 10-ft x 10-ft area, and a couple of nutsedge stems may break through the plastic (Figure 13). But if many weeds start to develop, the temperature is too cool and the process is failing. Then it is time to remove the plastic, start over, or try another method. Leaving the plastic in place and hoping it will heat up and kill the weeds will not work; the weeds just get worse (Figure 14).
We poked a small hole in the plastic; what can we do?
A few small holes may not have much impact on solarization (Figure 15). Use duct tape to seal small holes (< 1" diameter). A small patch of duct tape will not affect heat conduction.
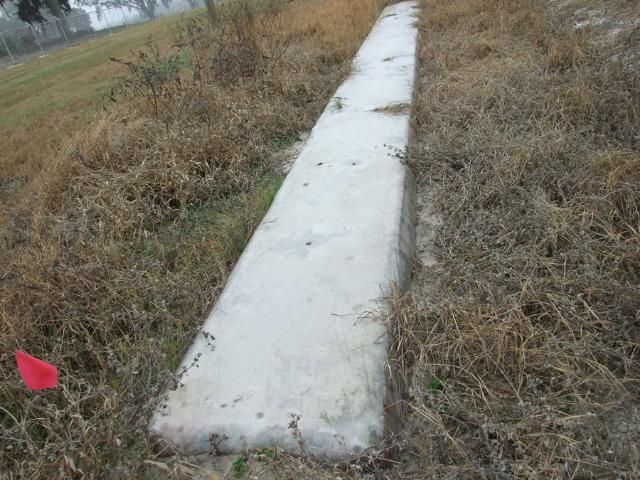
An animal walked across the plastic and made some holes; is the solarization ruined?
Animals walking on plastic or birds pecking at the plastic can cause small holes that can be sealed with duct tape. If the damage is extensive, the plastic may need to be replaced.
Rain washed away some of the soil that was sealing in the plastic; will this affect solarization?
If the edges of the plastic come out of the ground, heat will leak out (Fig. 7). It is important to re-bury or re-seal any exposed edges as soon as possible. Removal of a soil seal or damage to plastic will not ruin the solarization if it is caught quickly and repaired soon after it happens, preferably on the same day that the damage occurs.
My plastic strip is not wide enough to cover the entire area; can I overlap strips?
Suppose you want to cover a 10-ft-wide area and have strips of plastic only 5-6 ft wide. One possibility might be to lay the two strips side by side, overlapping in the center. However, overlap of plastic not sealed into the ground would allow a weak spot where heat could leak out. It is unknown if the two plastic strips could be sealed together successfully with tape, especially over a 6-week time period. A more reliable approach may be to seal both strips into the soil in order to have two solarized strips (each 4–5 ft wide) next to each other. But this would leave an untreated strip of soil between the two solarized strips where the edges of the plastic are buried.
It rained and now my plastic on flat ground has pools of water. What should we do?
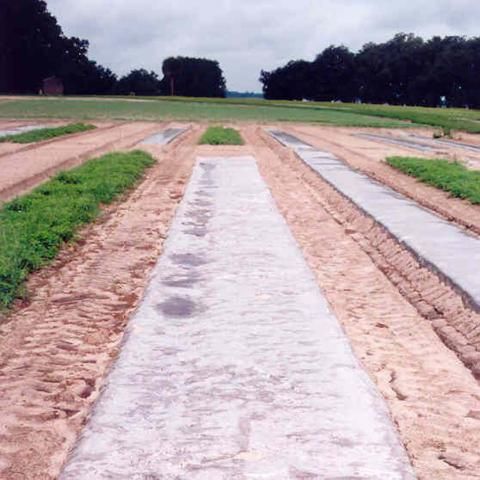
Raised beds are more work to prepare, but can be designed so water will run off. If water pools in low spots on the plastic (Figure 16), it should not be a problem as long as the water is clear, since light will pass through. But if there is dirt in the puddle it will block light, so dirt or soil in the puddle should be washed away or removed, especially if the area is large.
If we do solarization on raised beds, why should they be oriented in a north-south direction?
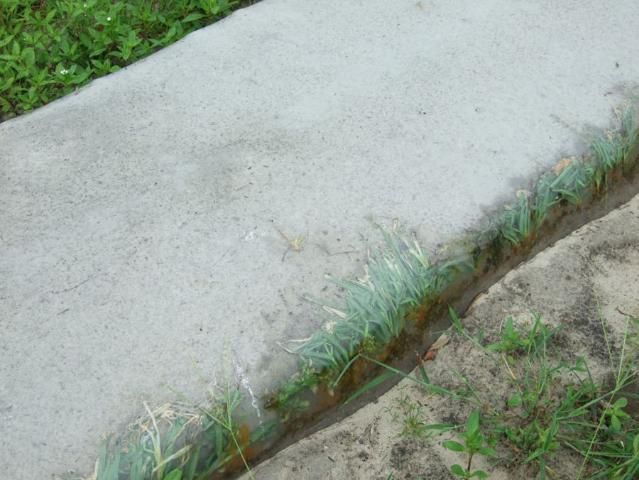
The edges of the bed may not receive direct sunlight if beds are positioned in an east-west direction. If the bed is positioned in a north-south direction, the east edge of the bed will receive direct sunlight in the morning and the west side will receive direct intense sunlight in the afternoon. On a bed that is positioned east-west, the top of the bed will receive direct sunlight through much of the day, but the edges may not receive much direct sunlight. As a result, the edges of the beds are cooler, and weeds may grow on the edges, particularly on the north side of the bed (Figure 17).
Can I bury my drip irrigation tape under the solarization plastic?
Do not bury drip irrigation tape or other irrigation plastic near the soil surface in a site to be solarized. The soil temperatures in excess of 120°F near the surface may melt some kinds of drip tape. Temperatures cool as we move deeper into the soil, so lines buried 6" deep probably won't be affected.
Will solarization kill beneficial soil organisms?
Yes. The temperatures that are lethal to pest organisms will kill beneficial organisms as well. Fortunately, beneficial bacteria and fungi seem to recolonize solarized soil quickly, so they can still break down organic materials and recycle nutrients if organic fertilizers are used.
I solarized last year and now I have weeds and nematodes again. Why weren't these pests eliminated?
No pest management method can successfully eliminate all pests. With solarization, the beneficial effects typically last for 3–4 months. After that time, pests surviving deep in the soil can move or work their way upward, or tiny weed seeds might be blown onto the solarized soil.
Summary and Additional Information
Soil solarization is a convenient nonchemical method for managing a number of soil problems including weeds, plant-parasitic nematodes, and soil-borne plant diseases. The main risk to solarization is an extended period of cloudy weather. Solarization cannot be guaranteed to always work because it depends on weather and sunlight, but results are improving as experience increases. For additional information and more details about solarization in Florida, please see the following link: https://edis.ifas.ufl.edu/in824.
Reference
Krueger, R., and R. McSorley. 2009. Solarization for Pest Management in Florida. ENY-902. Gainesville: University of Florida Institute of Food and Agricultural Sciences. https://edis.ifas.ufl.edu/in824