The predominant material used to construct honey bee colonies in the US is wood. Though honey bee hive components are simple in design, they are subjected to many extreme management techniques that cause wear and tear, ultimately shortening the life of the equipment. This article discusses how to protect colony woodenware, particularly the pieces that are exposed to the elements. These include the bottom board, hive body/supers, and lids.
Protecting hive equipment from weather, wear and tear, and termites begins at the point of equipment assembly. Many equipment manufacturers provide nails to assemble hive lids, supers, and bottom boards. However, assembling hive components with nails can lead to long-term problems during the life of the equipment. When wood gets wet, it swells and then contracts again as it dries. This process is repeated during cycles of high humidity and low humidity, and over time it can cause the nails holding the equipment together to work their way out of the wood, forming gaps at the joints in the equipment. This potential problem can easily be averted by assembling all woodenware used in a hive (except frames) with screws, which hold woodenware much more firmly than do nails.
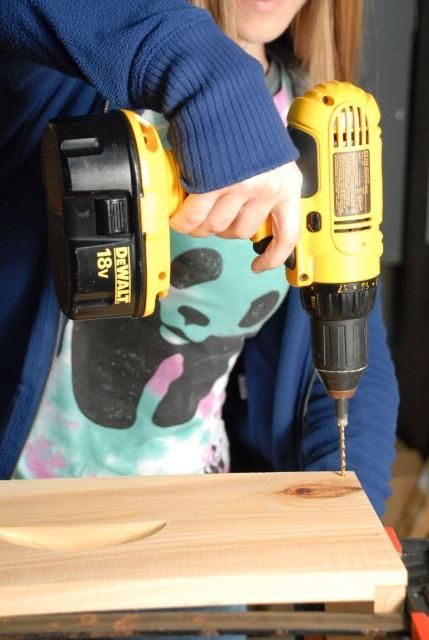
Credit: UF/IFAS Honey Bee Research and Extension Laboratory (honeybee@ufl.edu)
The joints (the part of the wood that will be fastened to another piece of wood) of the supers, lids, and bottom boards are the parts of the hive that need the most protection. In addition to using screws to assemble equipment, use copious amounts of a wood glue rated for outdoor use. Apply the glue to the joints of the wood before you screw the pieces together. Apply the glue liberally so that it "bleeds" out of the joints when the equipment is assembled. Assembling hive equipment with screws and wood glue adds strength and integrity to the equipment. This is important because the joints undergo the greatest amount of stress during the life of the equipment.
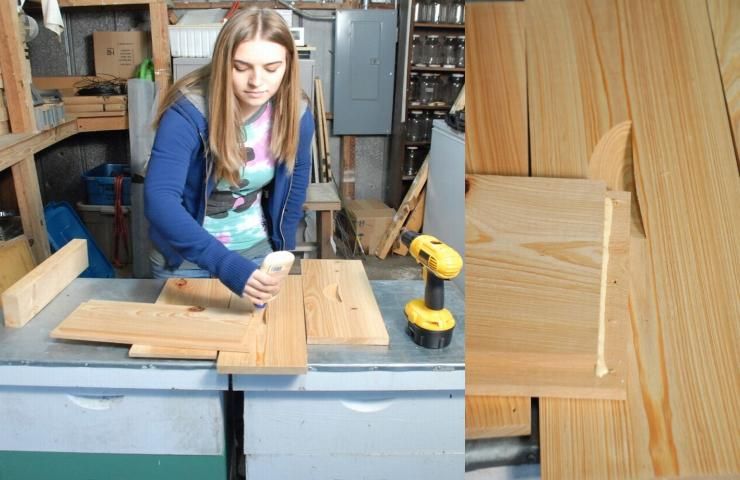
Credit: UF/IFAS Honey Bee Research and Extension Laboratory (honeybee@ufl.edu)
Tension, torque, and simple abuse tax the integrity of hive equipment; but the biggest threat to wooden beekeeping equipment is water because it rots wood. To protect against moisture, you can use a kiln-dried, rot-resistant wood such as cyprus in the construction of your equipment (do not use pre-treated wood). Furthermore, caulking the outside joints of the equipment where rain/moisture can enter is recommended. Run a bead of caulk down the joints on the outside of the assembled equipment. Smear the caulk over the joint with your finger to create a flat but solid seal. Always use a non-toxic, silicone-based caulk for this purpose.
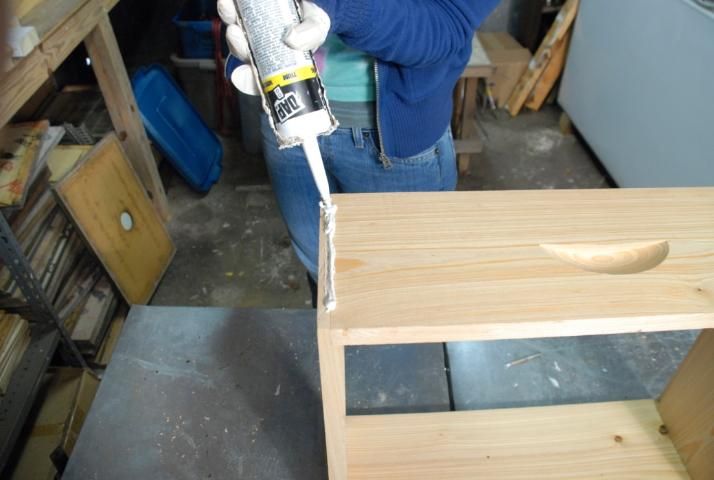
Credit: UF/IFAS Honey Bee Research and Extension Laboratory (honeybee@ufl.edu)
It is common practice in the US beekeeping industry to treat woodenware (minus the inner cover and frames that should not be treated) before assembly with a wood preservative. Though this potentially can prolong the life of the woodenware, exercise caution when choosing this option. First, be aware that many wood preservatives are toxic to bees. Never assemble hive components constructed from pre-treated wood. Second, only treat woodenware with preservatives that list copper napthenate as the active ingredient. You may elect not to treat the wood at all, however, because there are a couple of drawbacks associated with even the copper napthenate products. Some data suggest that they may impact bees in ways not considered before. Additionally, the way that beekeepers use copper napthenate treatments may not provide the moisture protection they were hoping to achieve. Typically, hive components are painted or dipped quickly in the product and then allowed to dry. However, research from Australia suggests that in order to achieve maximum benefit, the wood must be submerged in the product for hours (or possibly even days). This is rarely, if ever, done by US beekeepers. If you feel you need to use a wood preservative, only paint the surface of wood that will be facing outside of the colony. That way there will be no product-treated wood on the inside surface of the hive where the bees walk.
Using wood preservative may be unnecessary altogether if you assemble colonies with screws and wood glue, caulk the joints, use rot-resistant wood, and keep the hive equipment painted.
Outer/migratory hive covers, supers, hive bodies, and bottom boards should be painted with a non-toxic paint registered for outdoor use. The color of the paint is unimportant, but avoid very dark colors because they absorb heat. It is important to put at least two to three layers of paint on the equipment. Inner covers or the inside surfaces of supers should not be painted; painting traps moisture inside of the hive. However, you should paint the entire bottom board. If it is economically feasible, hive equipment should be painted every three to five years. Following these recommendations will prolong the life and functionality of your hive woodenware.
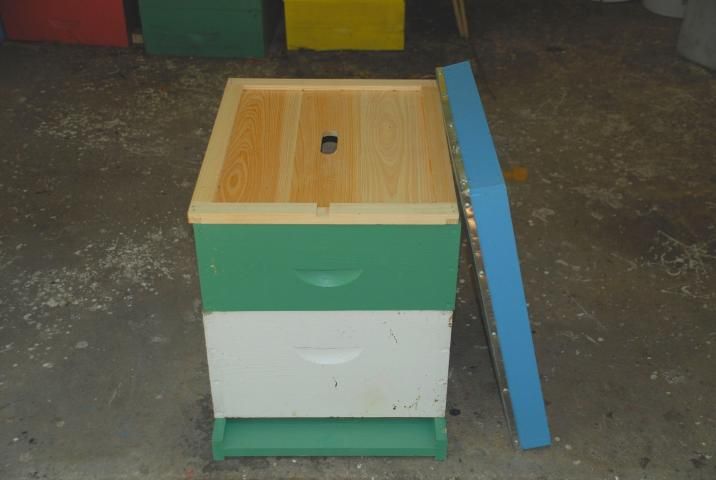
Credit: UF/IFAS Honey Bee Research and Extension Laboratory (honeybee@ufl.edu)
Protecting Hives from Termites
Two types of termites attack hive woodenware in Florida. These are the drywood termites (Family Kalotermitidae) and the subterranean termites (Family Rhinotermitidae and Family Termitidae). In most of the United States and Canada, only subterranean termites in the Family Rhinotermitidae are of concern.
Subterranean termites (Figure 5) attack wood from their colonies located underground. They can be the most destructive because they attack as a mature colony of 50,000 to several million workers. Damage from subterranean termites is easily prevented by sitting hives off the ground. Lack of ground contact greatly decreases the likelihood that the termites will find your hives. Do not use wood for hive stands, but rather concrete blocks, ant guard stands, or other metal or plastic materials. Ant guard stands coated with a product such as Tanglefoot or petroleum jelly on the legs of the stand will prevent subterranean termite access as well as ant infestations. For more information on subterranean termites, see https://edis.ifas.ufl.edu/ig097.
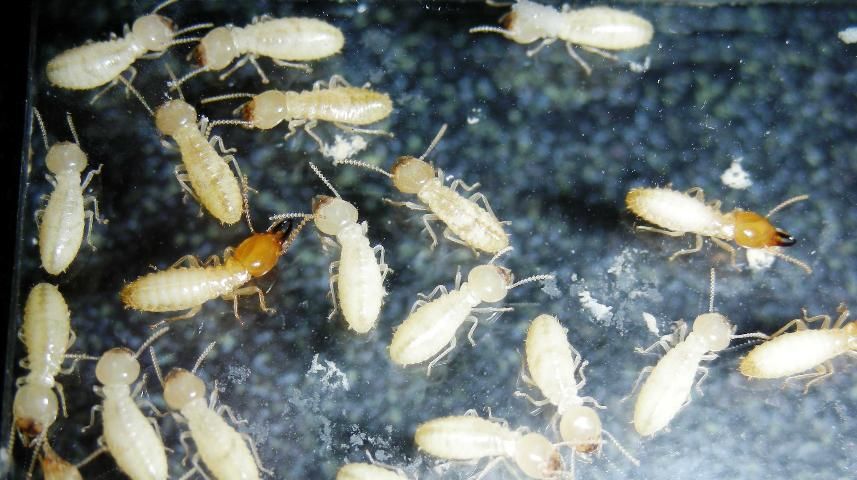
Credit: W. H. Kern Jr., UF/IFAS
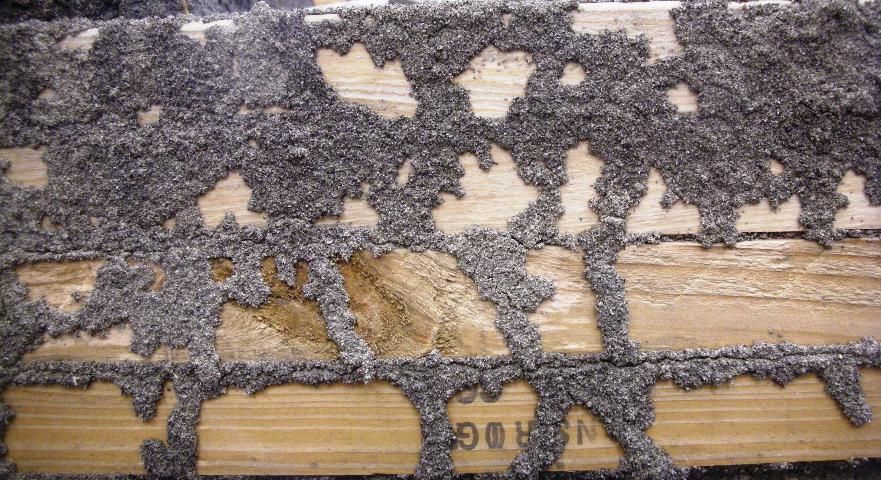
Credit: W. H. Kern Jr., UF/IFAS
Drywood termites (Figure 7) attack wooden structures as a newly mated pair. They take up to five years to build up their colony size to the point that they will swarm. They enter into cracks in wood or between boards. It is much more difficult to detect drywood termite activity. Signs of infestation include perfectly round, 1-mm "kickout" holes (so named because the termites literally kick pellets out of them). Look for fecal pellets scattered on the ground under the holes. Simply placing a white sheet under hives can help you see the tiny fecal pellets. Normal beekeeping activity of opening hives will disrupt young termite pairs and discourage infestation.
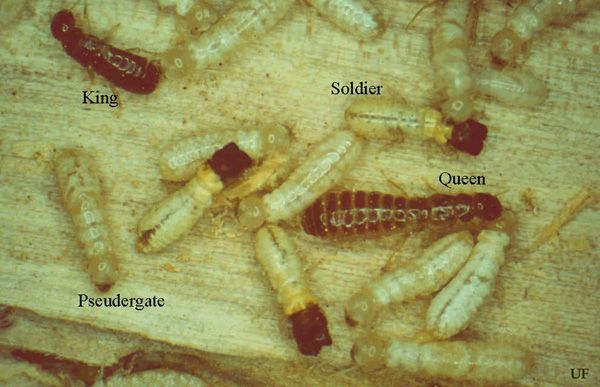
Credit: Rudolf Scheffrahn, UF/IFAS
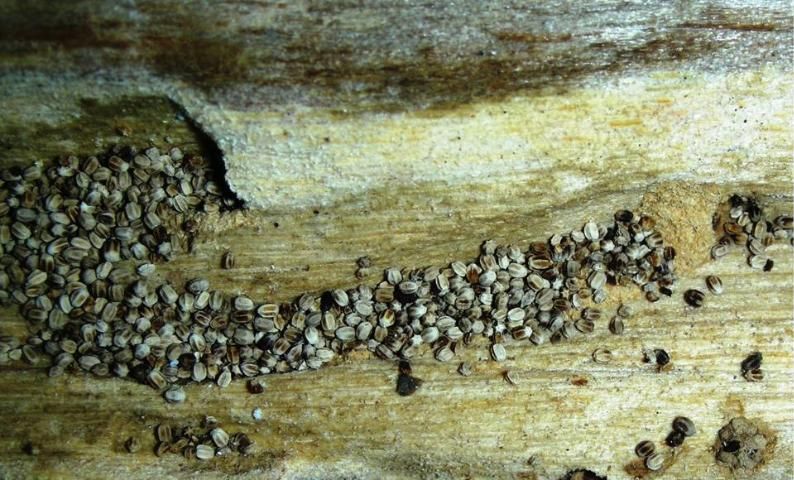
Credit: W. H. Kern Jr., UF/IFAS
Chemical prevention: Treating wood with copper naphthalate will prevent termite infestation and, most importantly, wood-destroying fungi. Because the effects of copper naphthalate may be potentially harmful to bees, however, be careful to treat only the cross-cut ends or external faces of the boards. These joints are where drywood termites and fungi often attack first. Some suggest soaking the wood in a salt solution for three days, letting it air dry for a week or two, then painting or wax coating the wood. Although it may stop termite or fungal damage, we do not recommend this method because the salt will speed the corrosion of metal components of your hive such as nails, screws, queen excluders, and frame spacers. Painting oil-based paint on all exterior surfaces of brood and super boxes, including the top and bottom edges, is still the best control for wood-destroying organisms.
Physical prevention: The danger of building a drywood termite colony or wood-destroying beetle larvae into your woodenware at the time of construction can be easily prevented. Build your woodenware with kiln-dried lumber. If you choose to use recycled lumber, solarize your used lumber by sealing it in a clear plastic bag in the sun for several days. Temperatures over 120°F will kill termites and most wood-destroying beetle larvae as well. The wood can be place in a deep freezer for four to seven days to achieve the same effect.