This document provides step-by-step details for calibrating spray guns used in various pest-control settings.
Introduction
Hand-held spray guns are used in various pest-control settings, including but not limited to lawns and ornamentals, agricultural tree crops, aquatic sites, and rights-of-way (Figures 1–3).
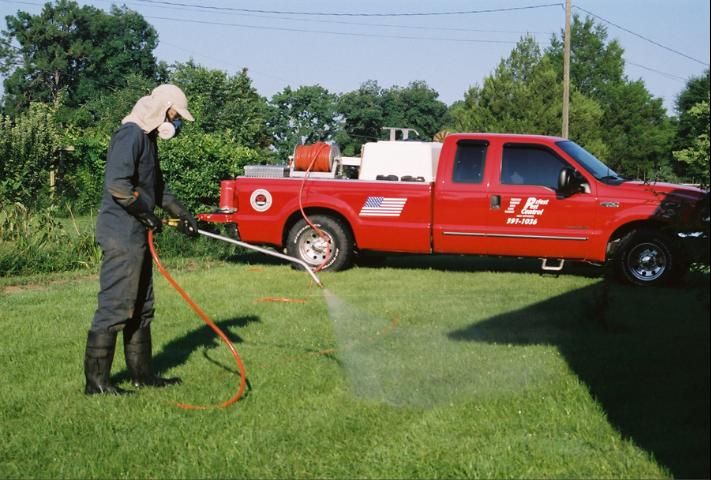
Credit: UF/IFAS
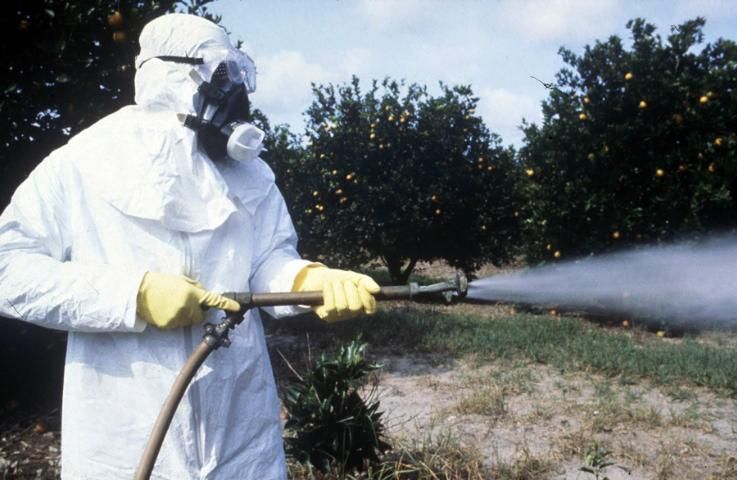
Credit: UF/IFAS
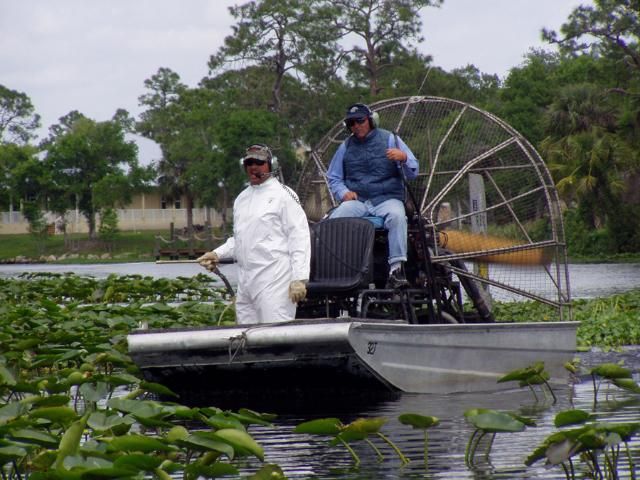
Credit: UF/IFAS
These spray guns operate off truck-, tractor-, ATV- or boat-mounted pumps and spray tanks. A first step prior to making any application is to determine sprayer output, which is done through calibration. Calibration simply refers to the proper adjustment of equipment to apply the correct amount of material to the target site.
Lawn Applications
Four factors are critical to calibrating hand-held spray gun equipment for applying the correct rate to a site of known area, such as a lawn:
- Sprayer pressure
- Proper walking pace
- Uniform hand/arm motion
- Relatively constant nozzle height and angle in reference to the ground
The Process
- Select the volume of water you want your sprayer to apply. Use the pesticide label as a guide (Figure 4). Most labels will state spray volume on a per-acre or per-1,000 ft2 basis. The label pictured in Figure 4 features a table that provides a range of 0.1–5.0 gallons of spray volume per 1,000 ft2.
- Spray a 1,000 ft2 test course using water only. To determine how far to walk, measure your spray gun's swath width at a pace and arm motion with which you are comfortable. Measuring swath width is easiest on dry pavement where a water film is visibly evident (Figures 5 and 6). Dry pavement will also allow you to check for uniformity of application. For example, if your swath width was measured to be 8 feet, dividing 8 feet into 1,000 ft2 gives a linear distance of 125 feet for your test course.
- Determine the amount of time that it takes to walk the test course using a stopwatch or watch with a second hand. Repeat twice to obtain an average time. For example, your three times were 34, 36, and 37 seconds, respectively, for an average of 36 seconds.
- Determine the gallons sprayed per 1,000 ft2 by catching the sprayer output in a bucket for 36 seconds and then measure in a graduated measuring container (Figures 7–8). In this example, if the amount of spray caught in the bucket was between 0.1 and 5.0 gallons, then the application would be made as directed by the product label (Step 1).
- Determine the amount of pesticide to add to the spray tank. For example, let us assume you are going to be treating centipedegrass and hybrid bermudagrass lawns. The label from Figure 4 states to apply 0.75–1.5 fluid ounces of product per 1,000 ft2. You decide to apply a rate of 1.0 ounce of product per 1,000 ft2. You determined from Step 4 that your sprayer's output is 2.5 gallons per 1,000 ft2. You wish to mix a full load and your truck-mounted spray tank holds 100 gallons.
5a. Determine the total number of square feet that 100 gallons will treat. In other terms, it may be easier to think of this as the number of 1,000 ft2-sections a full tank will treat: 100 gallons ÷ 2.5 gallons/1,000 ft2 = 40 1,000 ft2 sections, or 40,000 ft2.
5b. Measure and add the product to the tank: 40 1,000 ft2 sections x 1.0 oz/1,000 ft2 = 40 ounces of product to mix a full 100-gallon tank.
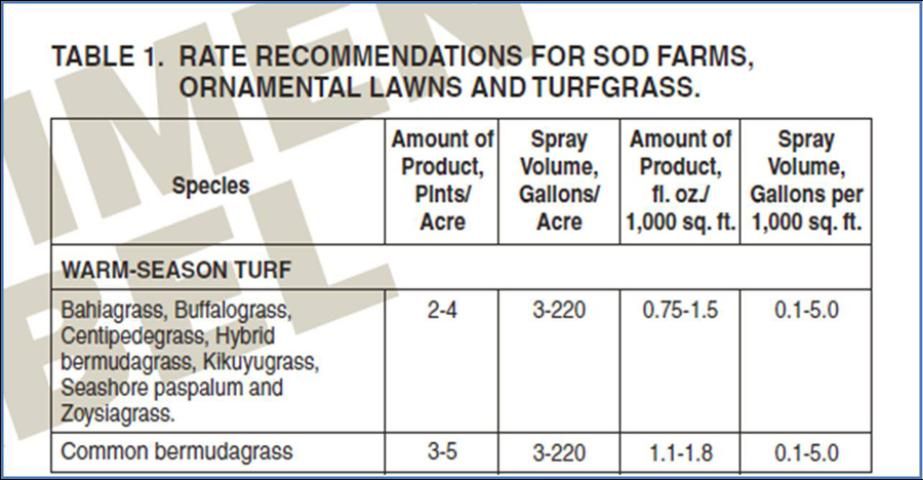
Credit: CDMS
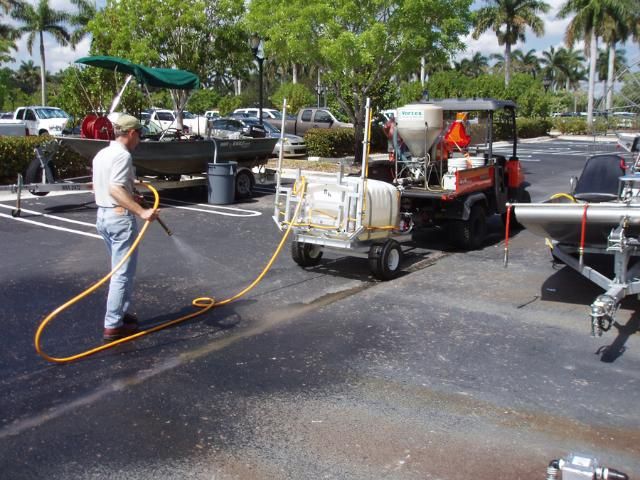
Credit: UF/IFAS
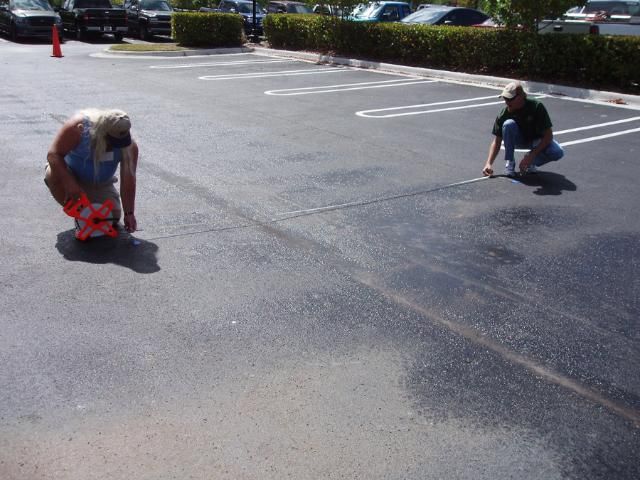
Credit: UF/IFAS
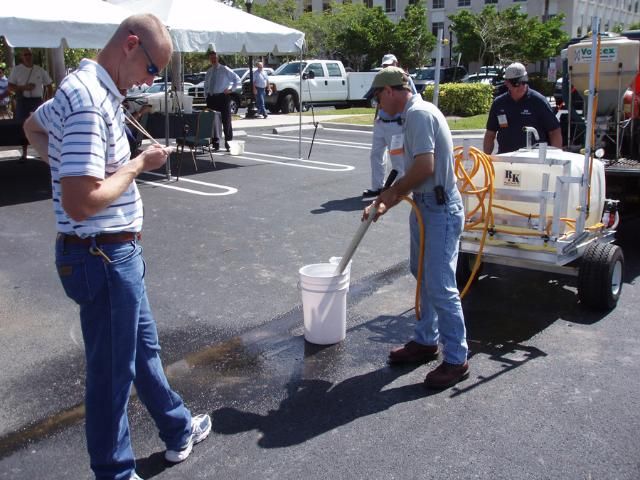
Credit: UF/IFAS
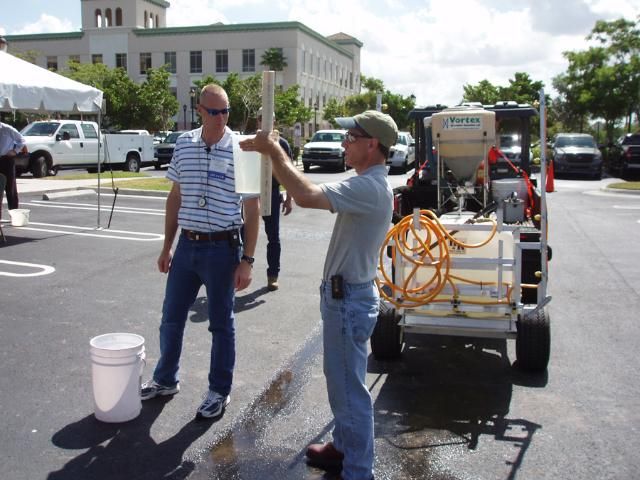
Credit: UF/IFAS
Sprays to Achieve Coverage
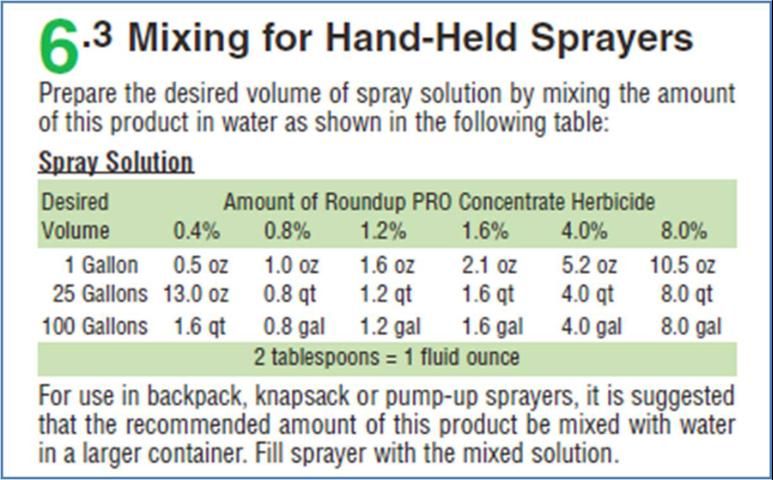
Some labels will have statements indicating that the product may be applied as a "spray-to-wet" application. When this is the case, the label will provide mixing directions stated as "% solution".
The Process
- Determine the amount of spray solution that will be mixed (for example, 3 gallons).
- Check the label for the recommended percent solution to apply (Figure 9) (for example, 1.6%).
- Determine the amount of product needed to make up 3 gallons of spray solution.
3a. Convert percent solution to its decimal equivalency: 1.6% = 0.016.
3b. Multiply the decimal equivalency by the amount of spray solution: 0.016 x 3 gallons = 0.048 gallons.
3c. Convert to ounces for ease of measuring: 0.048 gallons x 128 fluid ounces/gallon = 6.1 ounces of product needed to make 3 gallons of spray solution.
Credit: CDMS