Testing Small Ruminants for Mastitis Using the California Mastitis Test (CMT) and How to Properly Hand-Milk Goats

Izabella Toledo and Justina Dacey


Mastitis can become a costly health problem for small ruminant producers. Thus, proactive testing may help reduce treatment and management costs.

There are two types of mastitis: clinical and subclinical. Clinical can be visually recognized while subclinical is more common but not as easy to identify. To determine if a small ruminant has mastitis, a California Mastitis Test (CMT) can be conducted.

The CMT is a simple and relatively inexpensive test, allowing small ruminant producers to quickly know if their animals have mastitis. When an infection occurs, white blood cell numbers increase in the udder to help fight and stop the spread of infection. The CMT reagent reacts with milk containing high levels of white blood cells (i.e., somatic cells), forming a gel. The greater the number of white blood cells present, the thicker and more gel-like the resulting solution will be. Keep in mind that the milk of early- and late-lactation small ruminants can react to the CMT and form a gel even in the absence of subclinical mastitis. Thus, results during these specific phases of the lactation cycle may not always be reliable. In case of a positive CMT, it is recommended that additional laboratory tests be conducted to determine which organisms are causing the infection. Below are the steps to follow to use CMT on small ruminants.

CMT Supplies
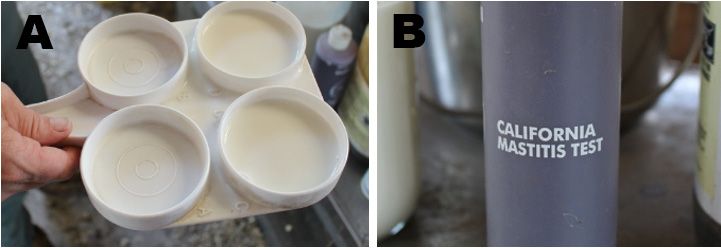
A) CMT paddle (each section representing a quarter; B) CMT solution.
Figure 1. A) CMT paddle (each section representing a quarter; B) CMT solution.
Credit: Credit: 

A Step-by-Step Guide

STEP 1

Milk samples from each quarter are collected in a clean CMT paddle. Be sure to discard the first stream of milk, then fill each cup with milk (1 teaspoon–2 cc).

You can tilt the paddle to discard excess milk until equal volumes remain in each well.
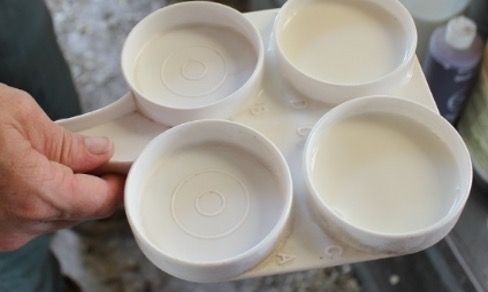
CMT paddle.
Figure 2. CMT paddle
Credit: Santos et al. 2015

STEP 2

Slowly add an equal amount of CMT solution(1 teaspoon–2 cc) to each well in the paddle. Tilt paddle back until milk is halfway between the inner and outer circles.
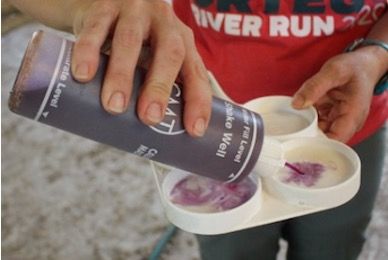
undefined
Figure 3. undefined
Credit: Santos et al. 2015

STEP 3

Gently swirl the CMT paddle in a circular motion to homogenize the solution.
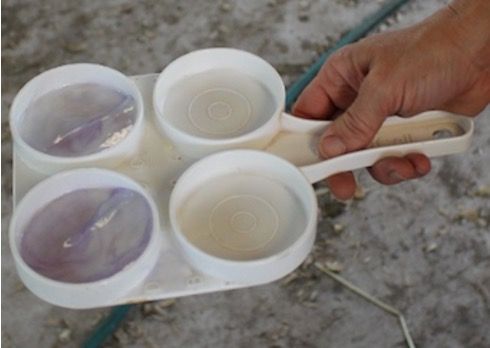
undefined
Figure 4. undefined
Credit: Santos et al. 2015

STEP 4

Results can be observed within 10 seconds and should be read right away, as the reaction may change.
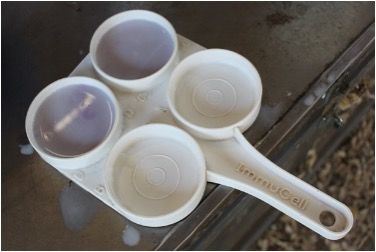
undefined
Figure 5. undefined
Credit: Santos et al. 2015

STEP 5

Remember to always rinse the CMT paddle after each test.

Reading and Interpreting Results

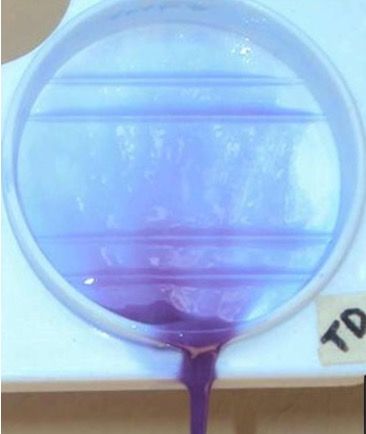
Results can be interpreted differently based on the individual tester. Producers should familiarize themselves with what a negative or positive CMT result looks like. If somatic cells are present, the solution will thicken to form a gel of differing degrees of thickness. Record the results and contact a veterinarian if CMT results are positive. Refer to the table below to interpret the results.
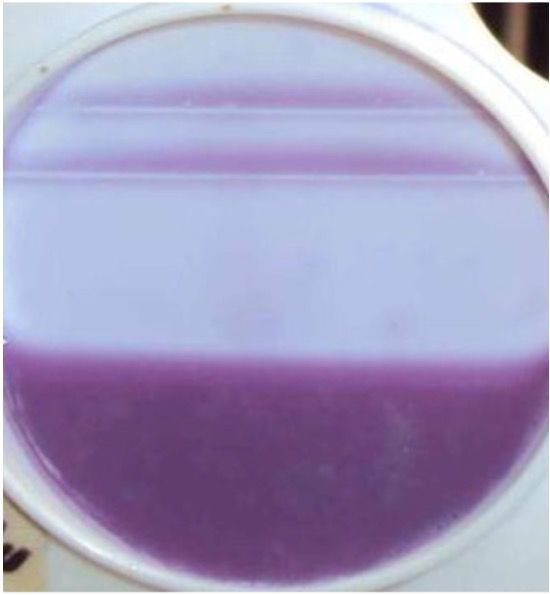
Negative CMT.
Figure 6. Negative CMT.
Credit:
Strong positive CMT.
Figure 7. Strong positive CMT.
Credit:

Rating

Reaction

Description of Visible Reaction

Interpretation

-

Negative

Mixture remains liquid and smooth. Perfectly clean.

0–200,000 cells/m

T

Trace

A light slime forms and is seen most easily by tipping the paddle back and forth and observing the mixture as it flows over the bottom of the cup. There is a distorted reflection in the bottom of the paddle. Trace reaction tends to disappear quickly with continued movement of the fluid.

150,000–500,000 cells/mL

1

Weak

Numerous distinct clumps appear but with no tendency toward a single gel mass. With some milk, the reaction is reversible and may disappear with continued movement of the paddle.

400,000–1,500,000 cells/mL

2

Distinct Positive

The mixture thickens immediately with gel formation. As the mixture is swirled, it tends to move as a mass around the periphery of the cup, forming a tail. When you tip the paddle, you can break the stream of liquid as it pours over the edge.

800,000–5,000,000 cells/mL

3

Strong Positive

A gel is formed which causes the surface of the mixture to become convex. An egg-like appearance. This central peak may adhere to the bottom of the cup. When you tip the paddle, you cannot break the streak of liquid as it pours over the edge of the cup; it all comes out as one mass.

Cell number greatly over 5,000,000 cells/mL

Source: http://www.omafra.gov.on.ca/english/livestock/goat/news/dgg1308a1.htm

*In case of positive results, contact a veterinarian for advice on how to treat intramammary infections in small ruminants.

How to Properly Hand-Milk Goats

Producing High-Quality Milk

The keys to producing quality milk are a sanitary environment, properly cleaned and maintained milking supplies/equipment, proper milking procedure, and does with healthy udders.

Milking clean, dry, and properly stimulated teats allows the most efficient harvesting of milk and reduces the risk of udder infections (mastitis).

undefined
Figure 8. undefined
Credit: undefined

Milking Environment

Housing conditions should be one of the first considerations in creating a clean environment for harvesting milk. When dairy goats lie down, their udders are in direct contact with the floor. It is crucial that this surface is clean, dry, and comfortable. The risk of mastitis increases greatly in dirty environments. Adequate bedding materials such as straw, sawdust, or sand bedding should be cleaned of manure daily and supplemented as needed. Resting areas should be in spaces that are not prone to flooding or moisture accumulation. A clean, safe, and stress-free environment is very important for efficient milking.

When the teats of a dairy animal are properly stimulated, the hormone oxytocin is released to cause the milk letdown. Fear or stress prior to milking can interfere with oxytocin release and disrupt milk letdown. For this reason, animals should not be stressed entering the milking area, which should be a calm and quiet place. Good milkers are patient with animals and pay attention to details. Aggressive handling, long waiting periods, or any changes in milking routine can interfere with milk letdown. Cooling systems that include soakers and fans should be used during extreme summer conditions. Keeping the animals comfortable will increase the overall milk yield and quality.

Milking Supplies

  • Milk stand strip cup
  • Stainless steel bucket
  • Cloth/Paper towels
  • Pre/Post-dipping solution
  • Disposable filters and strainer
  • Glass jars for milk storage
  • Gloves

Proper Milking Procedures

The production of high-quality milk depends on routinely following the proper milking procedures. The following steps are critical to reduce bacterial contamination and somatic cell counts, and to detect early stages of udder infections.

A Step by Step Guide

STEP 1.

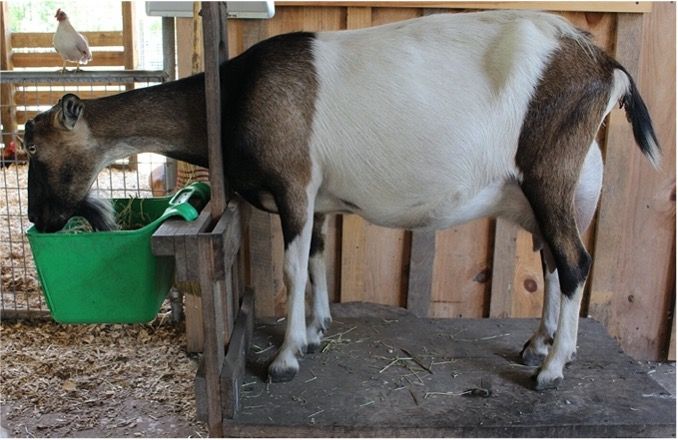
Place the goat onto a milk stand and secure her in the stanchion with some grain. A stand will hold the doe's head in the head gate, keeping her steady and in one place, and allow you to sit and milk the udder at a comfortable level.

undefined
Step 1. undefined
Credit: undefined

STEP 2.

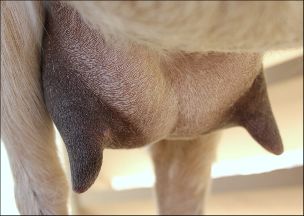
Goat udders should be shaved or clipped regularly to help keep them clean. If udders are visibly dirty, they should be cleaned with dry paper towels before milking. If possible, avoid using water to clean udders because it will travel down and onto the teat, potentially contaminating the teat opening. If it is necessary to wash the udder, use a disinfectant wash and dry the udder and teats thoroughly before continuing with the pre-milking protocol.

undefined
Step 2. undefined
Credit: undefined

STEP 3.

The milker should wear disposable gloves. Gloves should be changed every time you milk a new doe to decrease the chances of cross-contamination in case of mastitis.

undefined
Step 3. undefined
Credit: undefined

STEP 4.

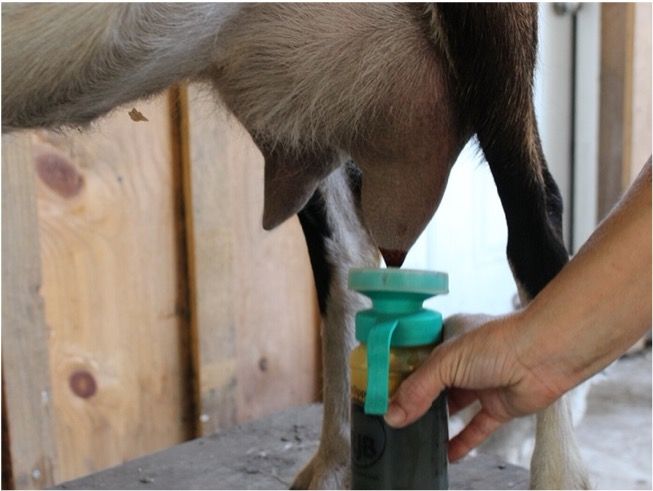
Pre-dip the teats in a 0.5% iodine teat dip solution. The teat should be clean and free of debris.  The dip solution should cover the whole teat. Allow at least 30 seconds of contact time. This step aids in killing bacteria that may be present on the udder before harvesting milk.

undefined
Step 4. undefined
Credit: undefined

STEP 5.

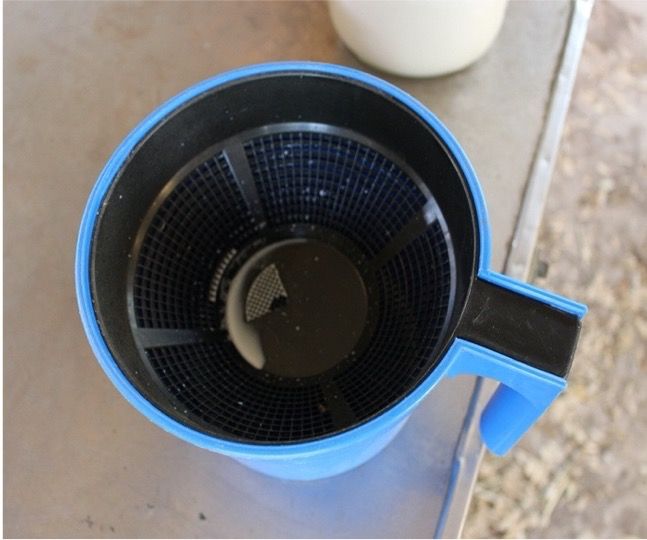
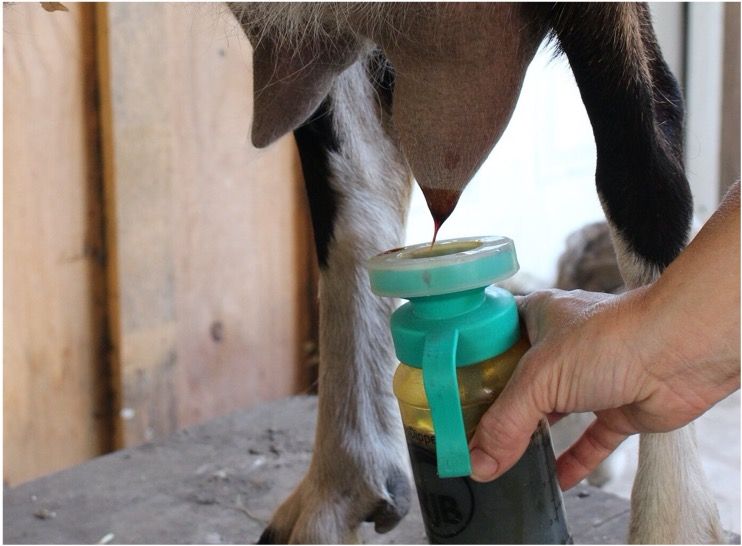
Strip each teat 2 to 3 times into a strip cup to collect any bacteria that may be present in the first streams of milk. Check for any abnormalities such as flakes, clots, or watery appearance. Also, inspect the udder for changes in color, presence of pain, swelling, and increases in temperature.

Forestripping can reduce bacteria and somatic cell counts and help to identify mastitis. If the milk shows any abnormality, discard it, remove the doe from the milking herd, and treat her accordingly. She can rejoin the group once she has recovered.

undefined
Step 5. undefined
Credit: undefined

STEP 6.

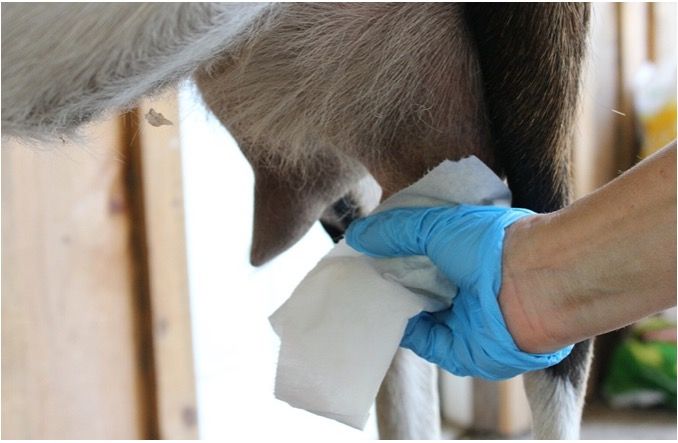
Use a clean, single-use cloth or paper towel to wipe each teat using a downward twisting motion to dry and remove dirt and pre-dipping solution. This is the most important step in pre-milking hygiene because moisture is a growth requirement for bacteria.

undefined
Step 6. undefined
Credit: undefined

STEP 7.

After the initial stimulus for milk letdown, it takes about 20 to 60 seconds for the response of oxytocin. Whether milking by hand or machine, milking should start 60 to 90 seconds after pre-dip removal from the teat to maximize milk letdown.

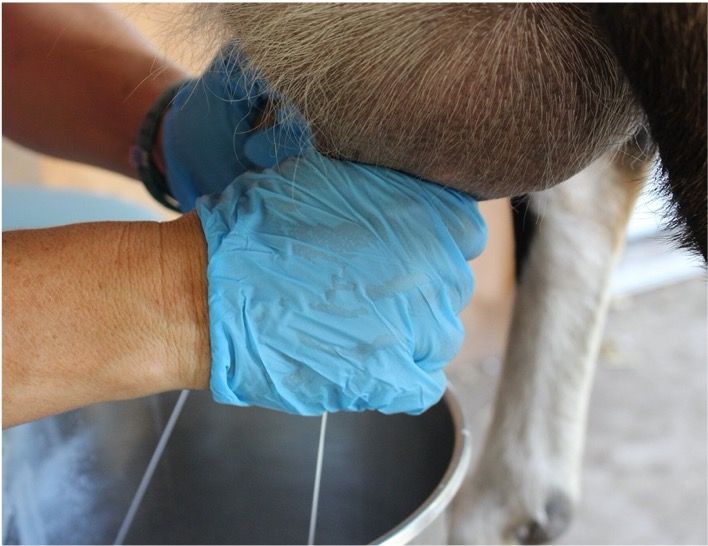
Begin milking by squeezing with the thumb and first finger as high up as possible on the udder. Trap the milk with those fingers and then squeeze the remaining fingers while continuing to trap the milk. This will force the milk out of the teat. Do not continue milking when the udder "feels empty" and milk stops coming out of the teats (i.e., overmilk).

undefined
Step 7. undefined
Credit: undefined

STEP 8.

Use the same pre-dip solution. Cover the whole teat with the post-dip immediately after milking. The purpose of the post-dip is to reduce the bacteria found in the milk film on the teat skin. This is also a fundamental aspect of the control of contagious mastitis. The post-dip solution will help reduce the risk of bacteria entering the teat opening until the teat sphincter closes.

undefined
Step 8. undefined
Credit: undefined

STEP 9.

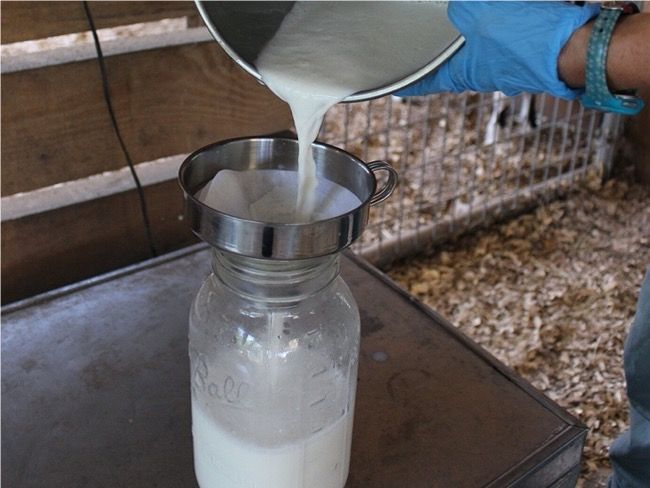
After milking, collect the milk through a filtered strainer into a clean glass jar. Rinse the bucket and strainer with water right away. Wash them with warm, soapy water and rinse with boiling water or a solution of one part bleach to ten parts water, then air dry.

undefined
Step 9. undefined
Credit: undefined

STEP 10.

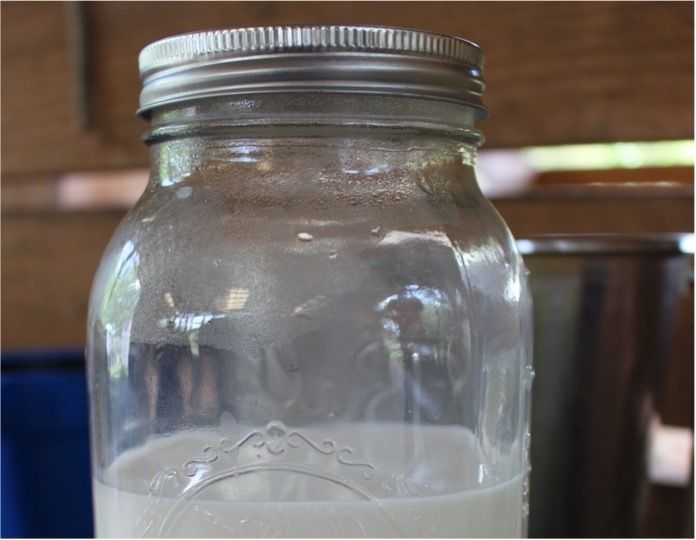
Chill the milk to 38°F within an hour. Depending on the refrigeration temperature, raw milk will stay fresh for 12 to 14 days.

undefined
Step 10. undefined
Credit: undefined